Tuesday 28 October 2014

Halloween Special- Part 2!

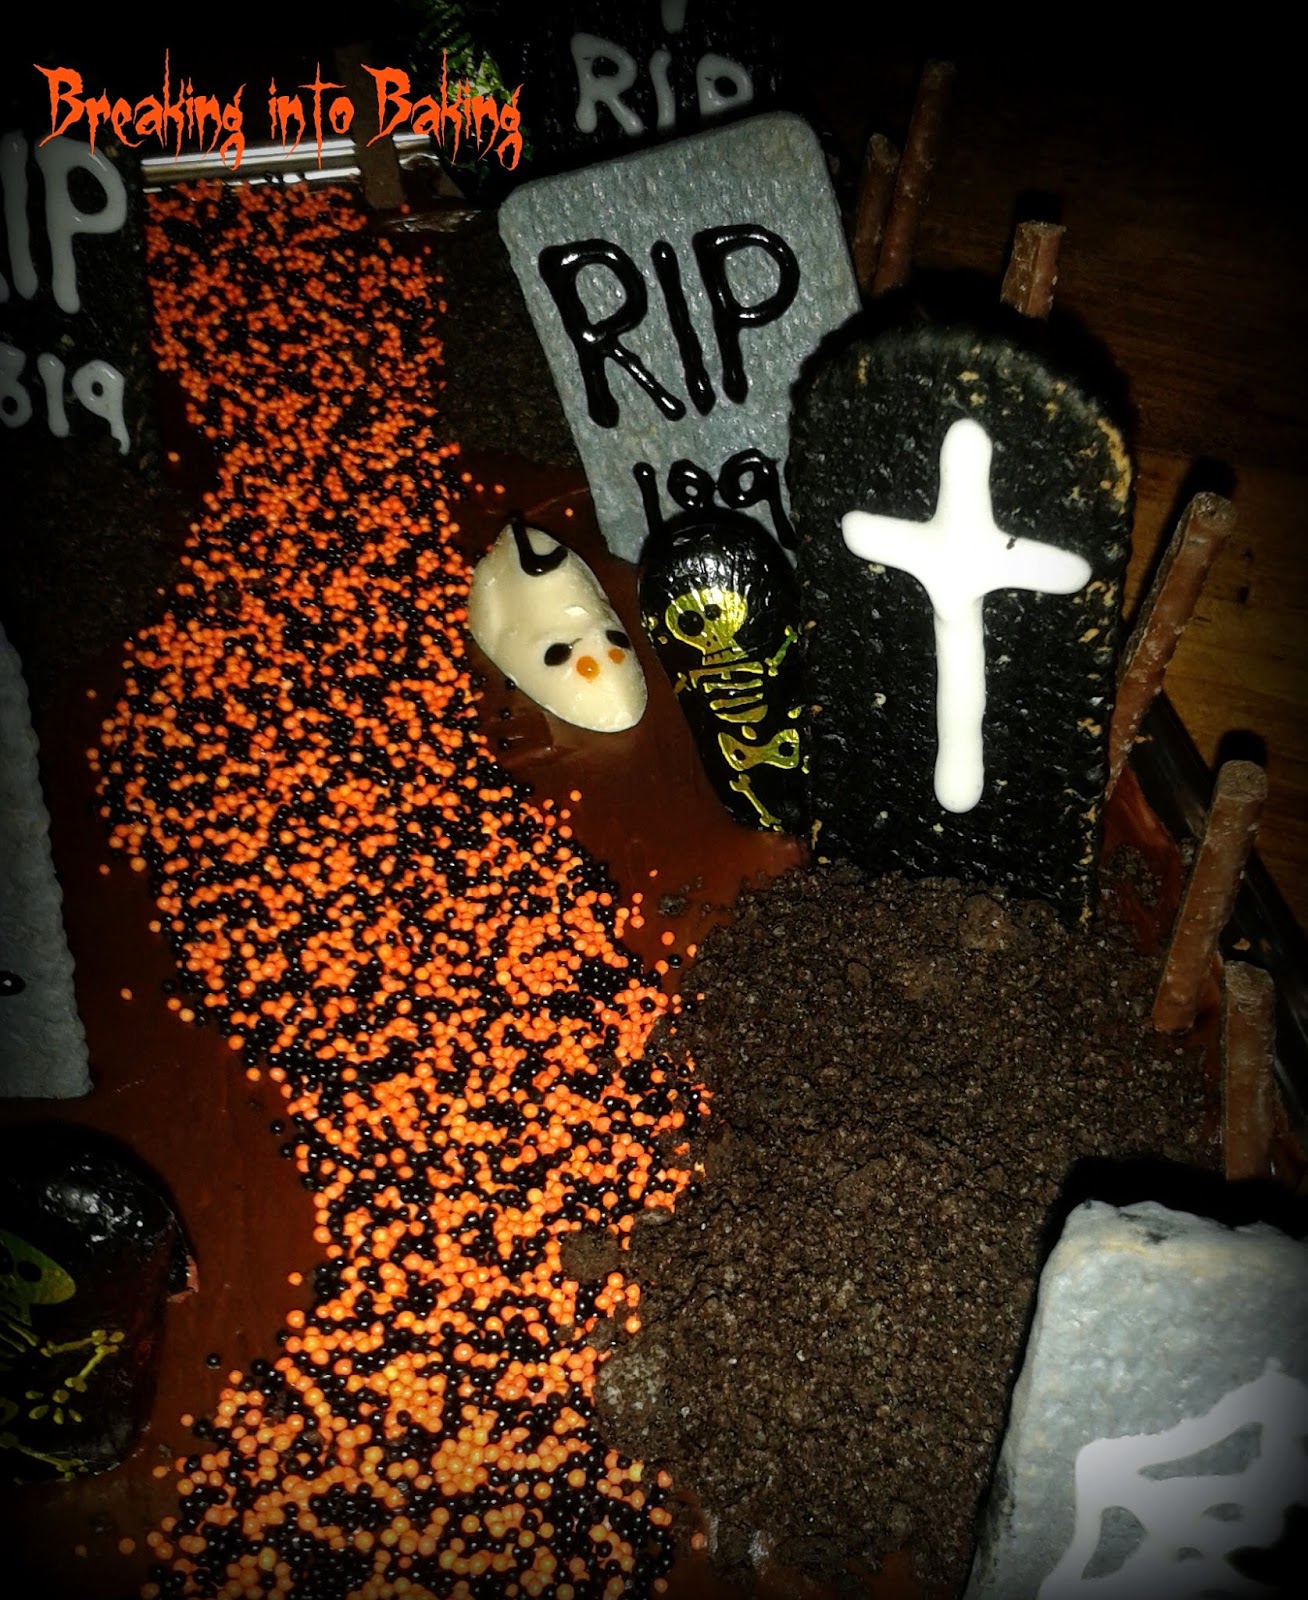
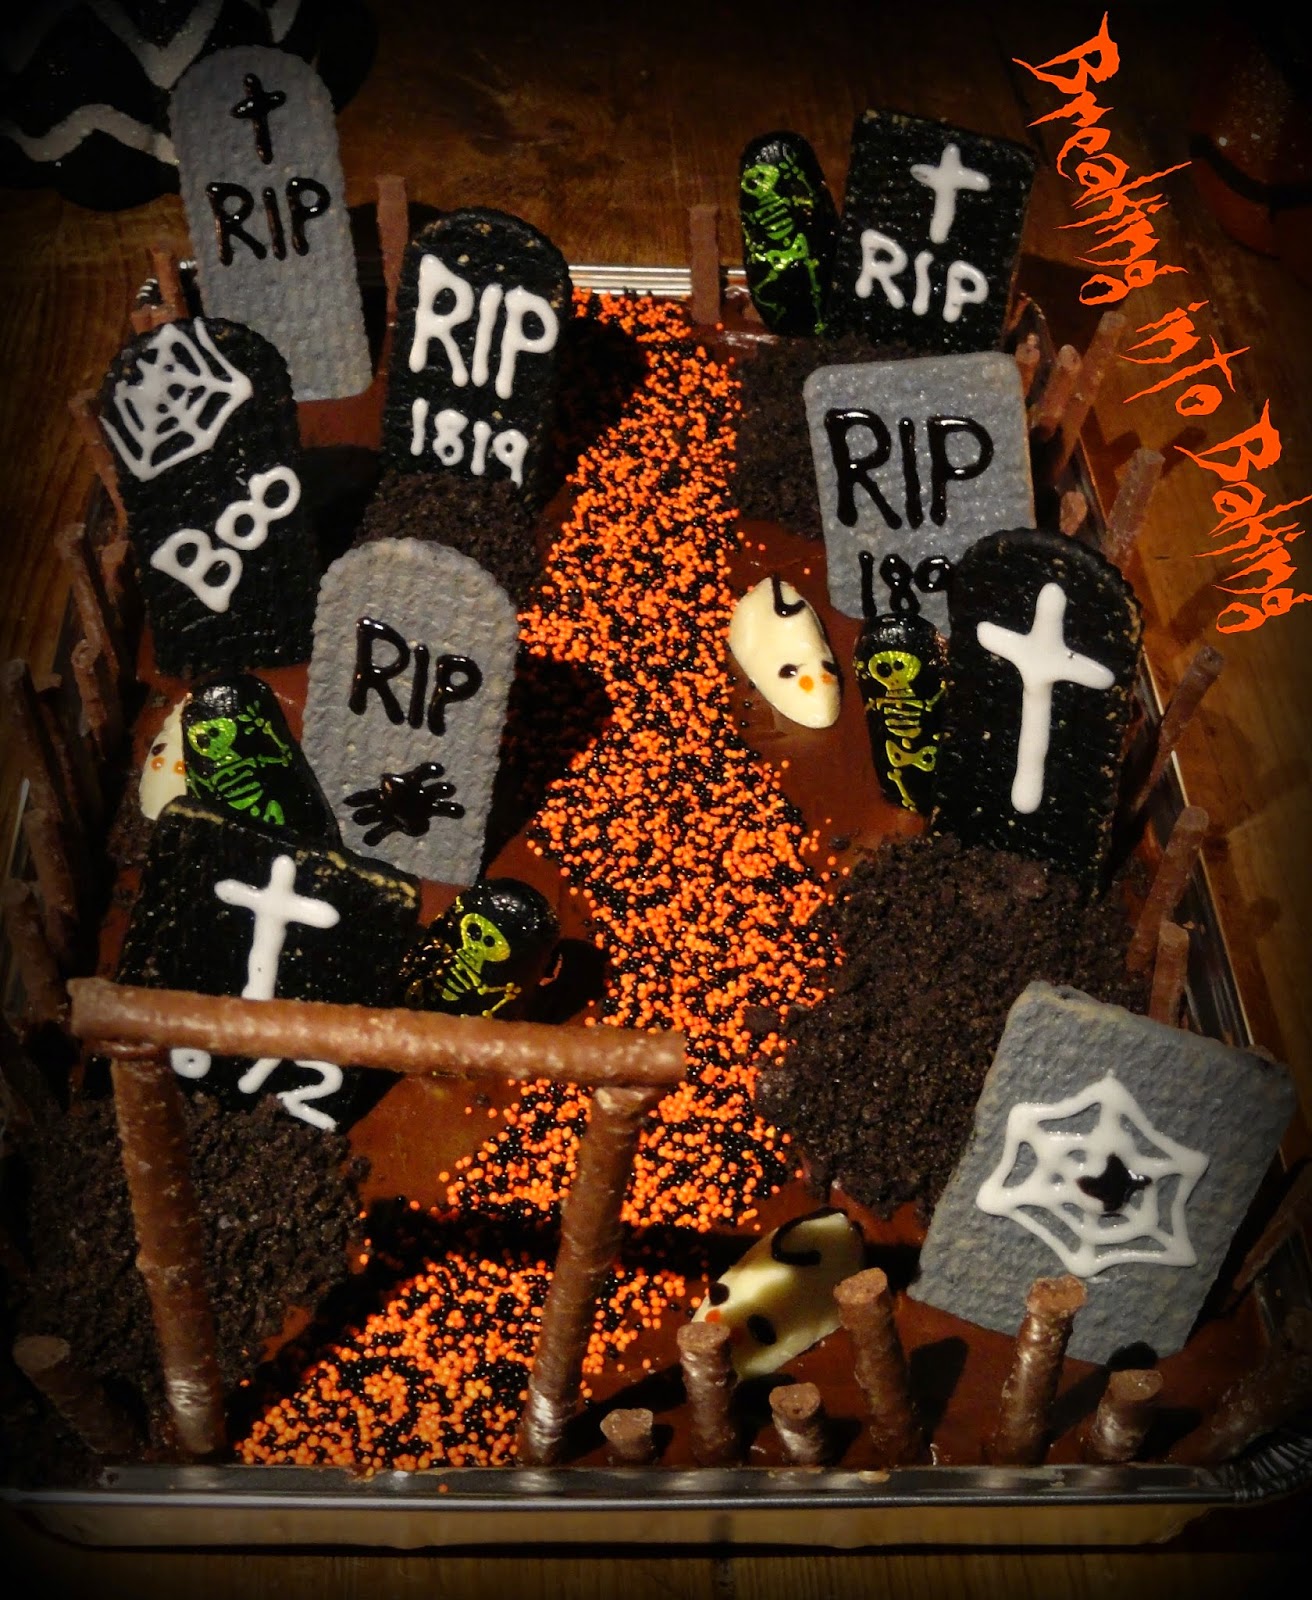
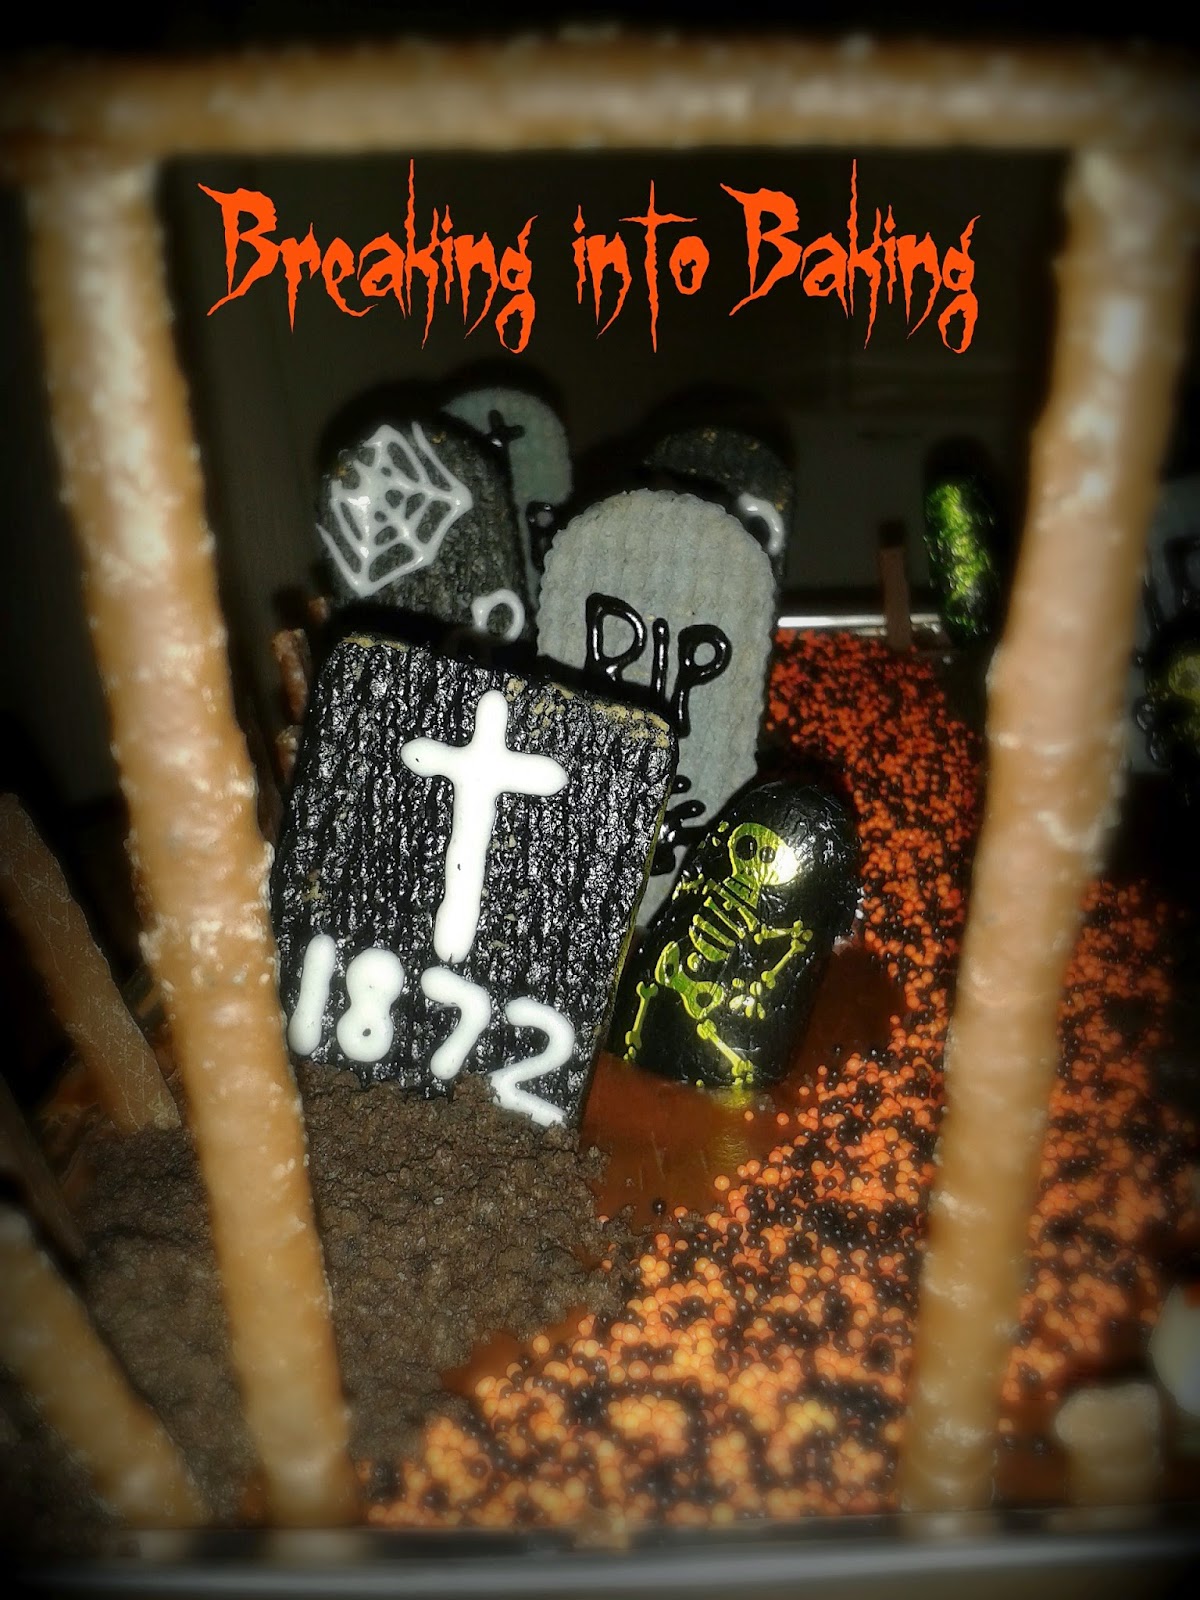
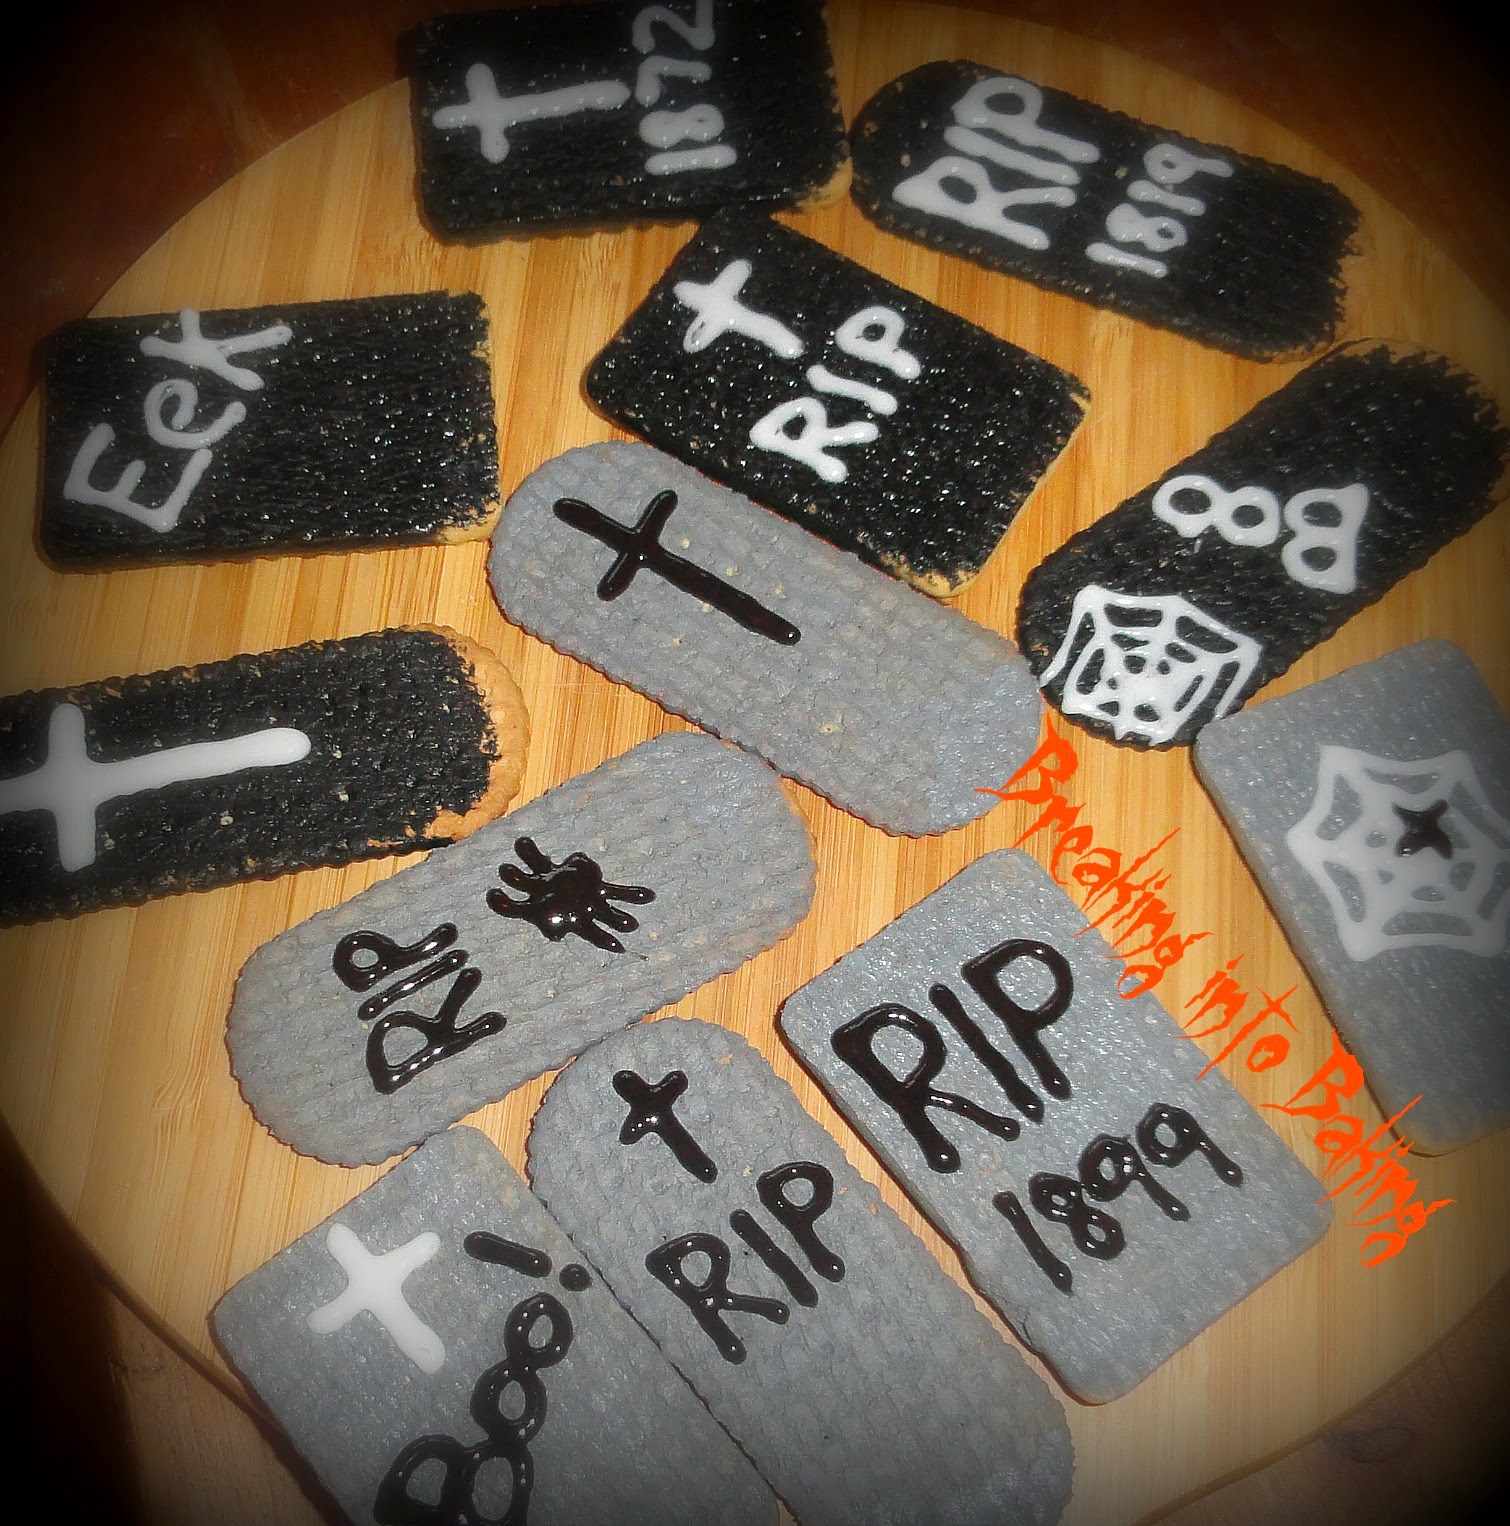
Graveyard Brownies


Once again I had so much fun making these!! The recipe for the brownies is my own triple chocolate brownie recipe and I covered them with Betty Crocker chocolate buttercream icing

I then used biscuits painted with gel food colouring and decorated with writing icing for the tombstones. I used Asda own brand rich tea fingers and malted milks as I liked the sizes and shapes but feel free to use your own favourites. 


I used Halloween sprinkles from Asda for the path but you can use any Halloween sprinkles. You could also use chocolate buttons or any orange / black sweet. 

The dirt is made from blitzing oreos in a food processor, 


The white mice can be found in any supermarket and I just painted on their red eyes and black ears and tails with writing icing. 

I got the skeleton sweets in M&S and the fence is made from Quality street Match Makers but you can also use chocolate fingers.


I made the brownies in a tin foil tray I got in Lakeland. They are great because you can just leave them in there to decorate and serve. They're also very handy to transport. 

So what will you need?

Foil Tray 
Brownies (recipe here)
Chocolate Buttercream Icing 
 Biscuits for Tombstones
Gel Food Colouring in Grey / Black
Tubes of Writing Icing in Black / White / Red (I used Asda Own)
White Mice (I used Asda Own)
Skeleton Sweets (optional)
Oreos for Dirt (crushed)
Match Makers or Chocolate Fingers for Fence


Whatever you do just have fun with this.. be as creative and adventurous as you like but keep it spooky...!! If you don't have gel food colouring why not just use chocolate covered biscuits? Head down to your local supermarket and you'll see a huge range of Halloween sweets and pick your favorites for your graveyard. 


As always please share your bakes with me if you try them yourself. I hope you all have a spooky and fun Halloween!! 

Happy Baking, 
O x


Monday 27 October 2014

Happy Halloween!!

Part One!

Halloween has always been one of my favorite holidays! I have some of  the best memories from my childhood around Halloween. Deciding what costume to wear, putting it altogether, going trick or treating with my friends and of course having a big bag full of sweets at the end of the day!! But I have to say my fondest memory was decorating the house with my Mum. She went all out at Halloween. We had a porch at the front of the house and she used to make it into a cave. I don't think any description I could give you now would do it any justice but we always got so many compliments on the cave and we had so much fun doing it. I remember we used to pester my Dad for days (probably weeks) before Halloween to go up into the attic to get the costumes and decorations. The day was then spent planning and putting together our costumes, carving the pumpkin and then helping Mum put up all the decorations in the cave. I just won't mention how one Halloween I nearly set the house on fire... sorry again Mum and Dad! I definitely think I get my creativeness from my Mum and she's the best when it comes to holidays! 

Me- Halloween 2012

Things haven't really changed since I've grown up. I still absolutely love Halloween and adore getting dressed up every year. That said I just had to do a Halloween special on Breaking into Baking. For the Shattered Glass Cupcakes you can use my classic vanilla cupcake recipe with the vanilla frosting or feel free to use a box mix for the cupcakes and ready made icing which is what I did here. I used the Betty Crocker vanilla cupcake mix and the Betty Crocker vanilla buttercream icing. For my Graveyard Brownies I used my chocolate brownie recipe and some Betty Crocker chocolate buttercream icing but you can also use a box mix for the brownies. As this blog is called 'Breaking into Baking' I wanted to show you on this post that even if you don't posses the best baking skills that these two recipes are so easy to do that anyone can give them a go. If you have kids they are so much fun to make.. although maybe the cupcakes are not so suitable for children! 

Shattered Glass Cupcakes


You will need:

Vanilla Cupcakes
Vanilla Buttercream frosting
Glacier Mints (such as foxes)
Liquid Glucose (I used 1 Dr. Oetker tube)
1 tsp of Cornflour
2/3 tbs Water
Red Gel Food Colouring
Blue Gel Food Colouring

For the Glass:


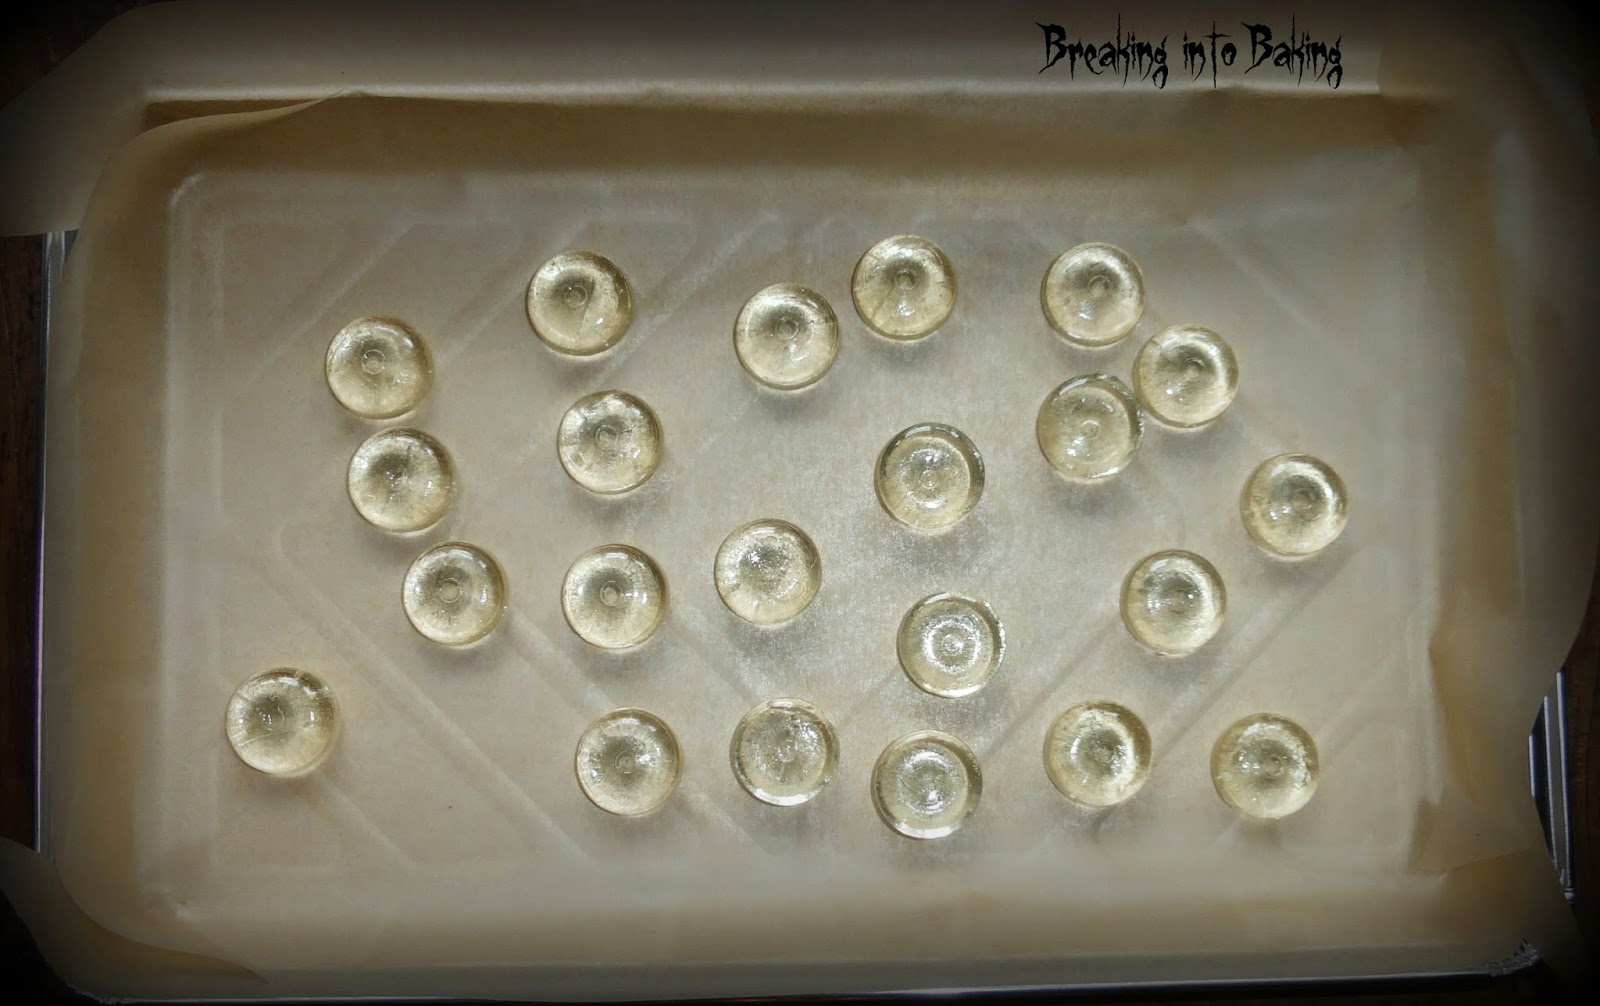
Place your glacier mints on a baking tray covered in parchment paper. Put them in the oven at 180C to melt. They will only take a few minutes. Keep an eye on them. Once they have melted take out and leave to cool. Once cooled (again won't take very long) use a rolling pin or some other big utensil to smash the "glass". Set aside until ready to use.


For the Blood:

Put your glucose and cornflour into a bowl. Mix until well combined. Add a couple of drops of water to make the mixture slacker. Then add your red food colouring. I added about 10/12 drops of red and 2/3 drops of blue but you will know yourself when you get the desired colour. Then add more water until you have reached a thick syrupy consistency similar to blood. 


Once your cupcakes have cooled ice them with your vanilla buttercream (be as messy as you want here). Then start sticking your shards of "glass" in the top and pour on your blood over. 

Viola!


I hope you have as much fun making these cupcakes as I did. Check out part two of my Halloween special tomorrow for some spooky Graveyard Brownies. Here's a sneak peek...


As always you can find me on Facebook, Instagram and Twitter. If you do try these cupcakes please share some pictures with me on any of those sites or you can always leave me a comment below.

Happy Baking and Happy Halloween!!

O x

Monday 13 October 2014

Classic Vanilla Cupcake


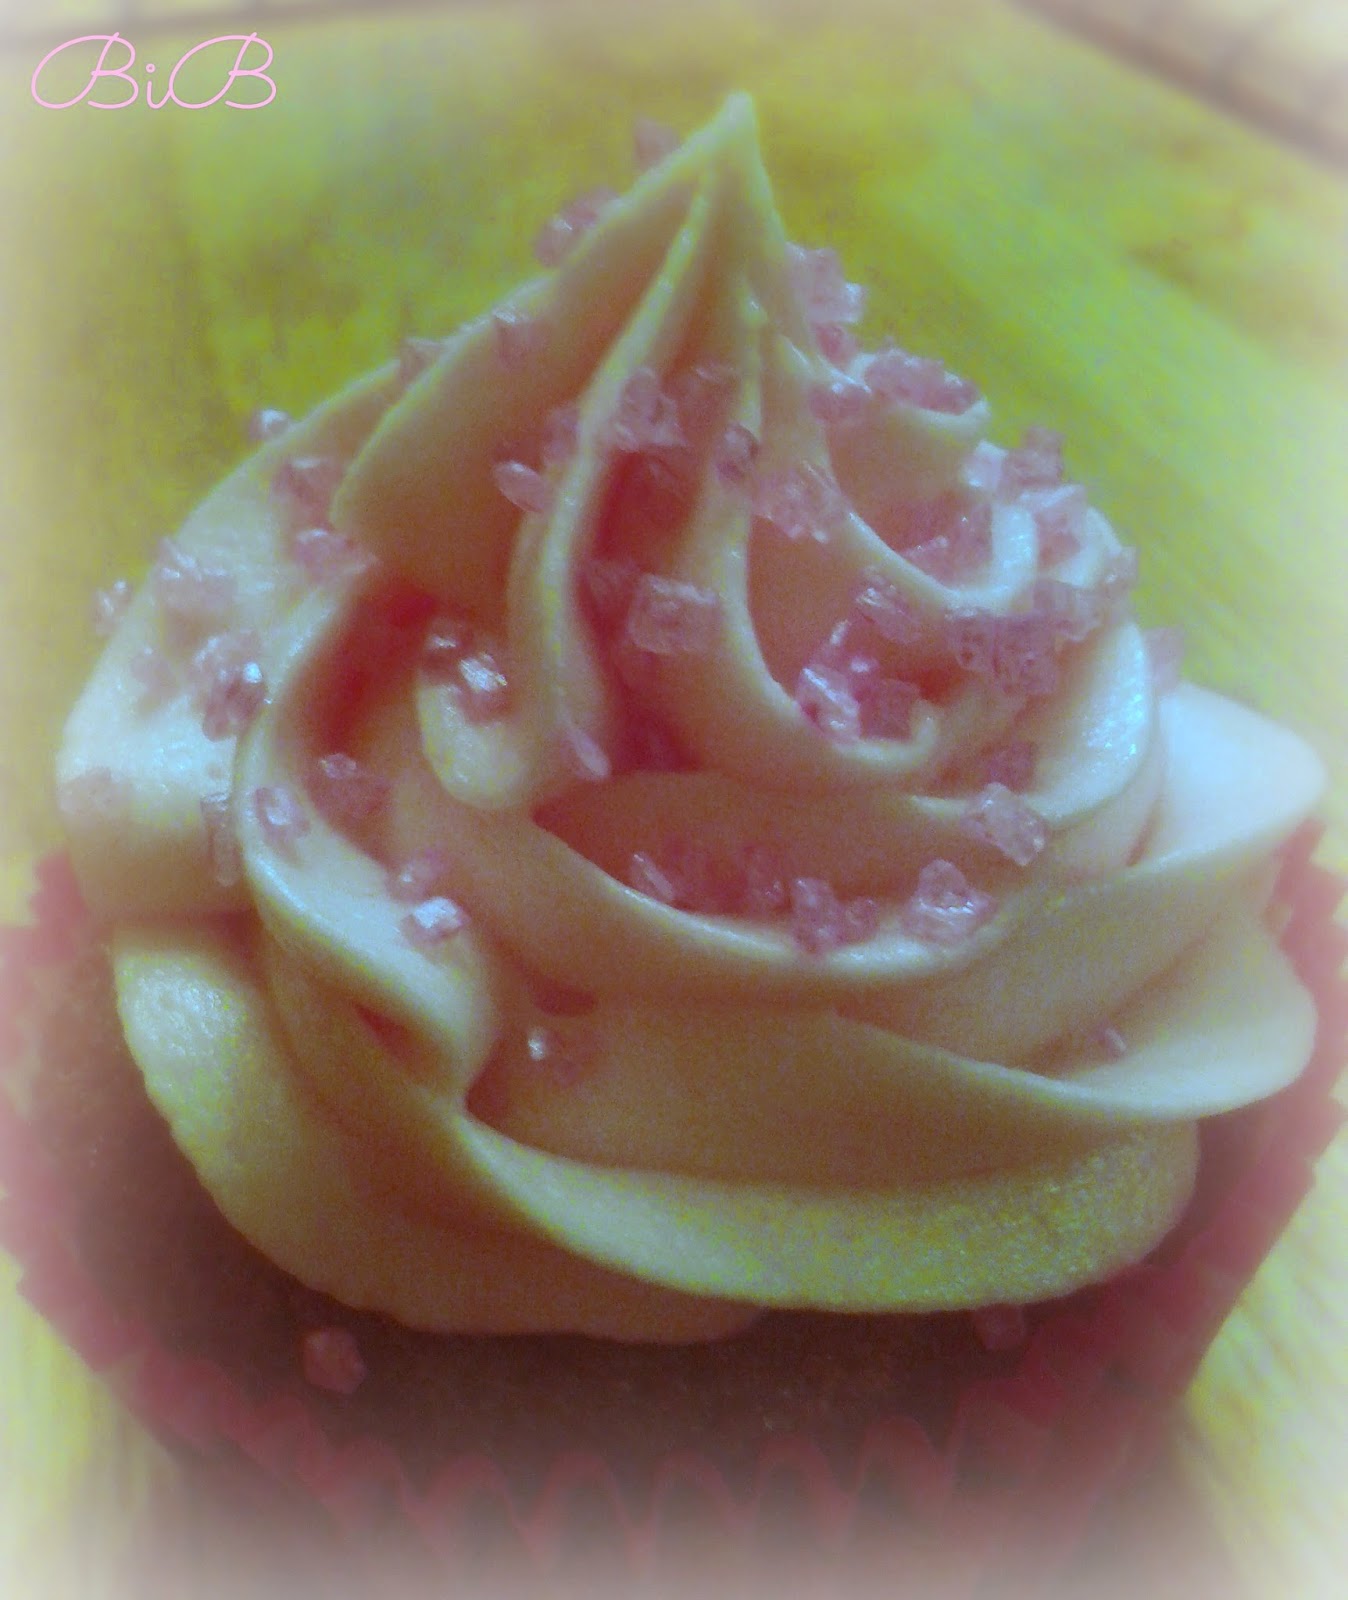
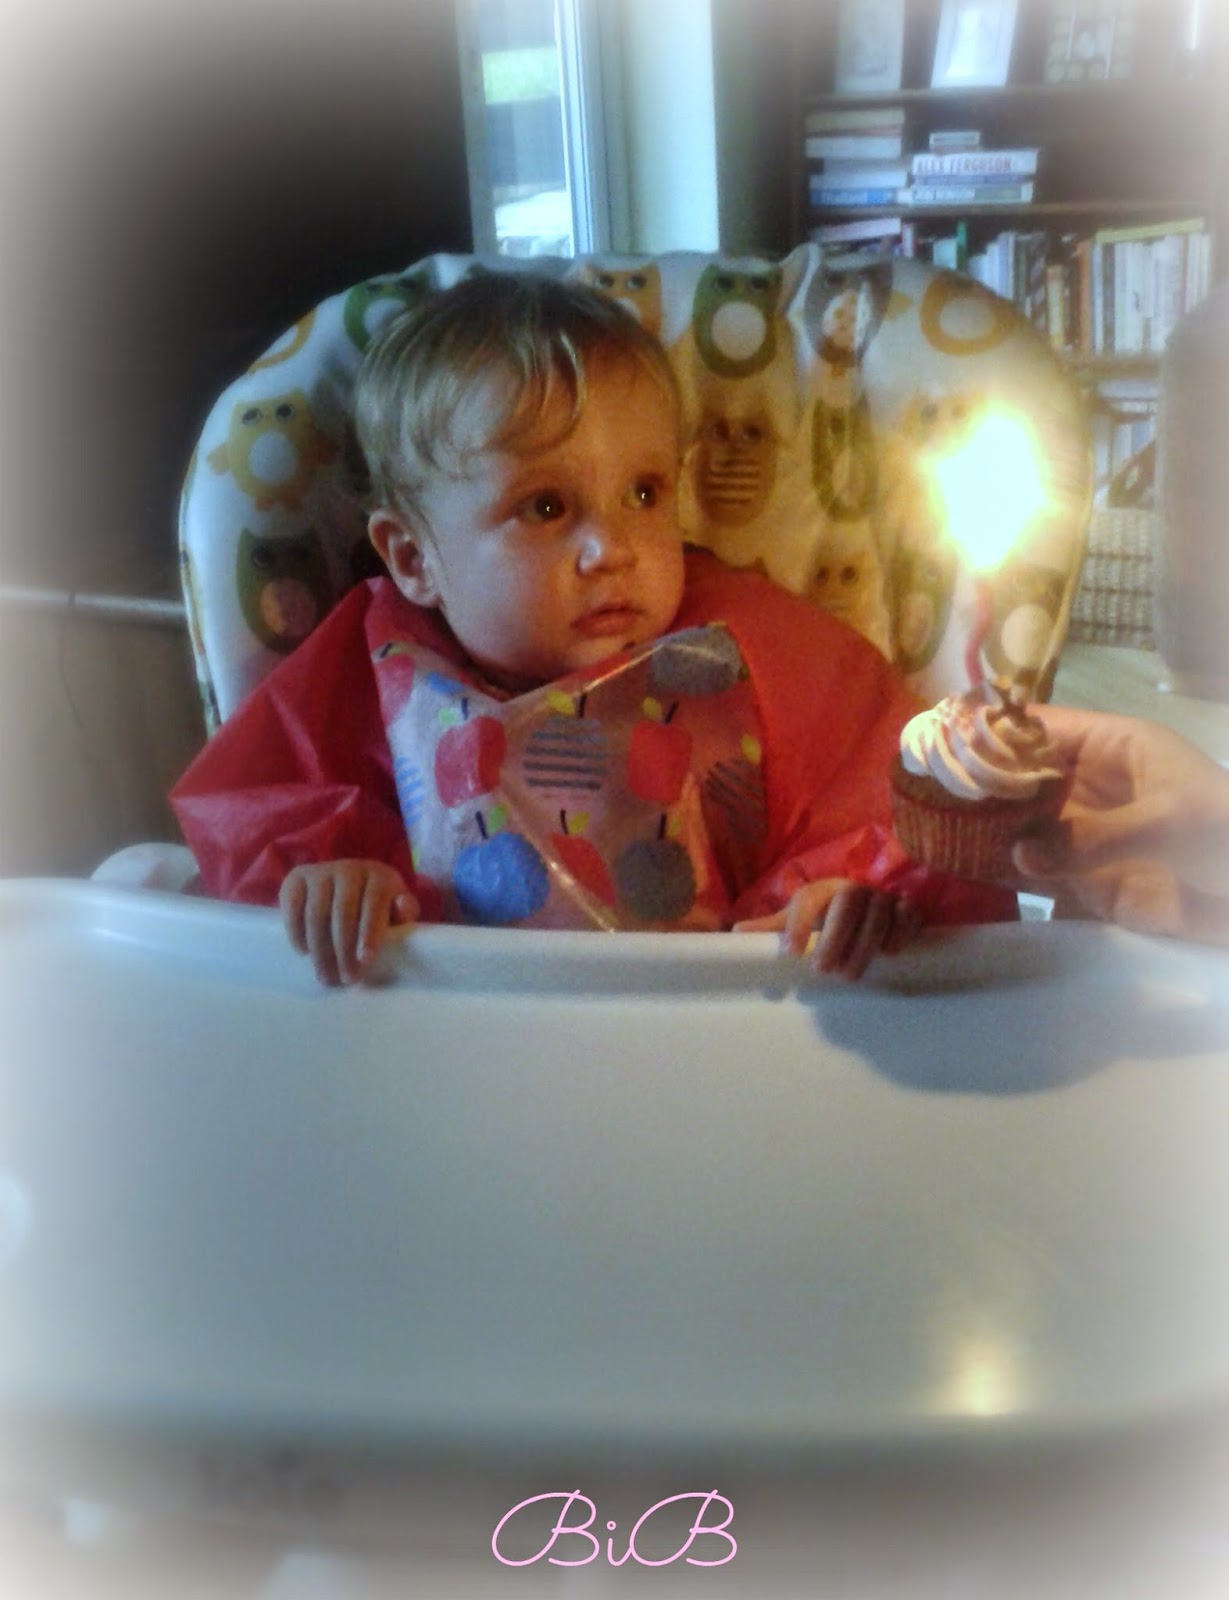
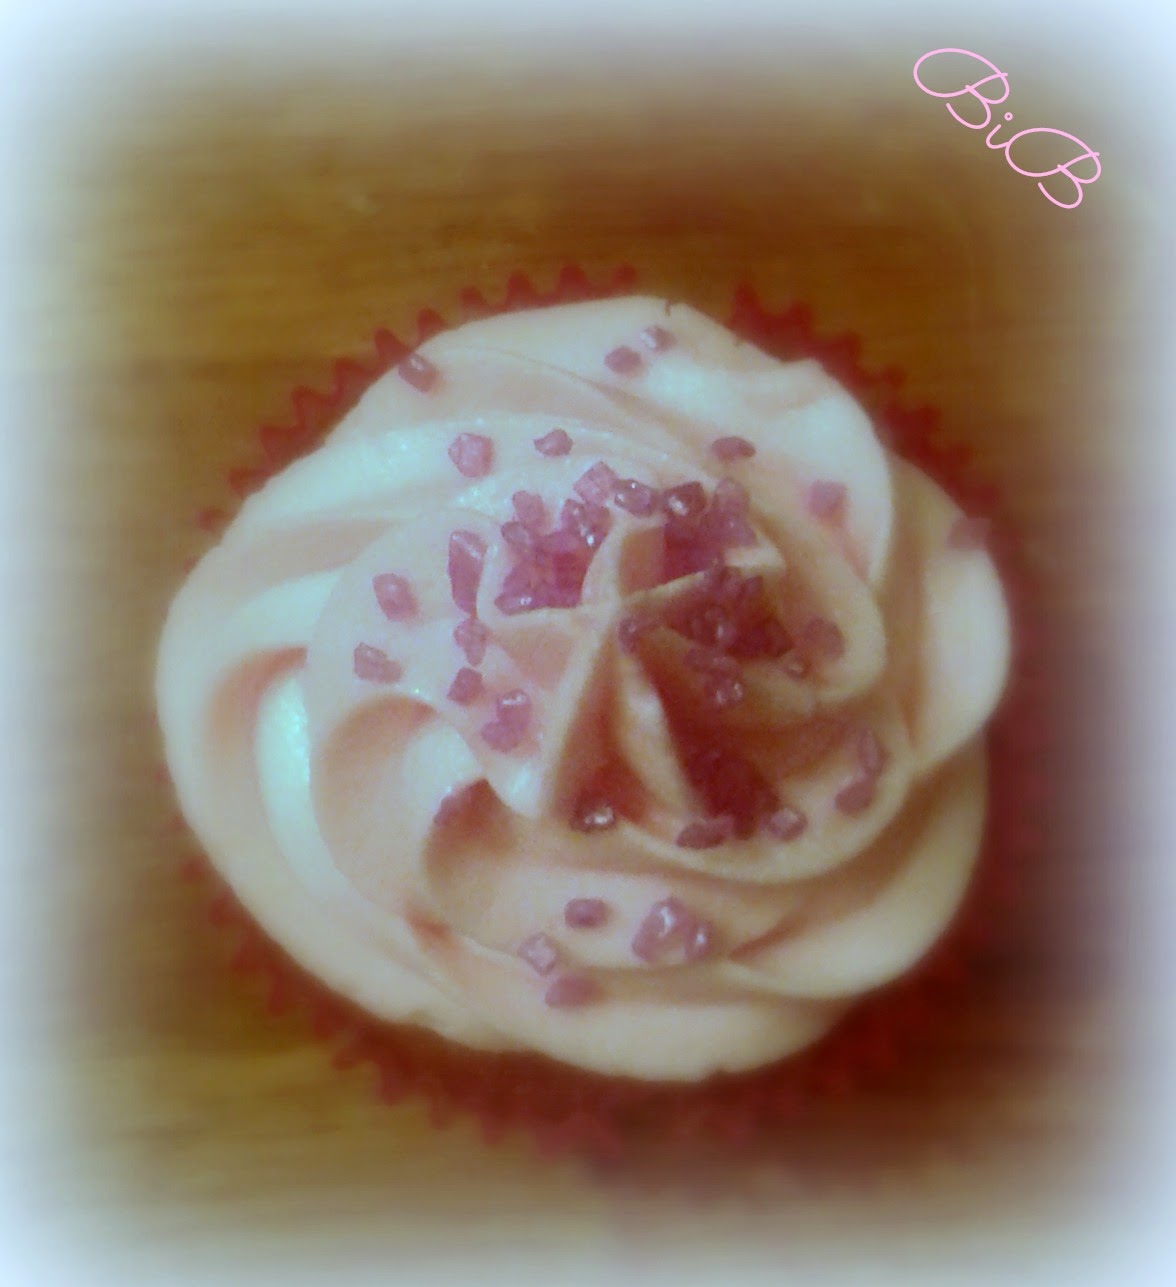
It was my god daughters 1st birthday last month so I decided to make some pink cupcakes to celebrate. You really can’t beat a classic vanilla cupcake and they’re so quick and easy to make. I have been making cupcakes / queen cakes for as long as I can remember. Anyone who grew up in an Irish household will surely have grown up eating queen cakes.. which we now call cupcakes thanks to our American friends bringing them across the pond! One of my youngest memories is baking queen cakes with my Nana. I remember standing up on a chair so I could reach the counter and being her little assistant. I firmly believe I get my love of baking (and skills) from both my grandmothers as they were both two wonderful bakers.

Abigail didn't look too sure but she loved it! 

So back to the humble cupcake. All you need is butter, eggs, flour, sugar and a drop of vanilla extract and if you follow my step by step recipe then you can have perfect vanilla cupcakes too. In this recipe I am using a classic buttercream frosting from ‘The Hummingbird Bakery’ cookbook but feel free to use your own favourite frosting recipe. This recipe makes 12 cupcakes.


Ingredients:
170g Self Raising Flour (sifted)
170g Caster Sugar
170g Unsalted Butter (at room temperature)
3 Medium free range eggs
1 tsp of Vanilla Extract

For the Buttercream:
250g Icing Sugar
80g Butter (at room temperature)
25mls Milk
½ tsp of Vanilla Extract

Prepare:
Preheat your oven to 170C and line a 12-hole cupcake/muffin tin with cupcake cases.

Method:

Begin by beating your sugar and butter together until pale and fluffy. This may take a minute or two. Here is where it is so important that your butter is at room temperature or the butter won’t dissolve the sugar and it will just clump together.

Beat in your eggs one at a time and stir in your vanilla extract. Once your eggs and vanilla are all incorporated fold in your flour gently to keep as much air in your batter. Spoon the mix into your cases filling ¾ of the way full. Pop them into your oven and bake for 20-22 mins. You will know your cupcakes are baked when they are golden brown in colour and bounce back to touch. You can also stick a cocktail stick or skewer in and if it comes out clean they are baked.

Leave to cool on a wire rack and begin making your buttercream icing. Start by creaming your butter with your mixer (or hand held whisk) then slowly add your icing sugar. I stress doing this slowly or else you will end up with a face full of icing sugar!! Once your icing sugar has been incorporated add your milk a small drop at a time with your vanilla extract until the icing is smooth and creamy. I used pink gel food colouring here to colour the icing but feel free to use whatever colour you wish. I piped the icing using a star tip and I then decorated them with pink and purple sparkling sprinkles.


Delicious!

Let me know if you try these out yourself. As always you can find me on Facebook, Twitter and Instagram or you can leave a comment below.

Happy Baking,

O x

Monday 29 September 2014

BBC Good Food Bakes and Cakes Show offer - ONE DAY LEFT!!

You have just one day left to get 20% off your ticket to The BBC Good Food Bakes & Cakes Show that launches in London on 25-27th October Half term!!


Simply quote 20PAR7 when you book.  Offer ends 30thth September.

Whether you're a hobby baker or professional this is perfect place to practice your skills or learn some new tricks! Packed with baking, bread-making and cake-crafting demonstrations, free step-by-step master classes, and hundreds of essential baking products you won't want to miss it! 


Plus, you can watch Mary Berry, Mich Turner, Eric Lanlard, Paul Hollywood, and more of your favourite bakers LIVE at the show! A seat in the Bakes & Cakes Theatre is included in every full day adult advance ticket.


Book yours before tomorrow and save 20%!
https://www.theticketfactory.com/gfbc/online/


Ticket offer t&cs – please list if / where possible:
*Offer valid on Adult and Concession standard advance tickets only.  Offer ends 30.09.14.  †Standard Bakes & Cakes Theatre seat included per advance standard ticket, subject to availability. Gold seats available for £3 extra per person. All admin and transaction fees included. Ticket terms and conditions apply. Not all celebrities appear on all days, check the website for details. Information correct at time of print. Good Food® Good Food logo© BBC Worldwide

Tuesday 2 September 2014

Gluten Free Banoffee Pie

Gluten Free Banoffee Pie


I have always been a big fan of Banoffee Pie; though technically not a pie as I always make it with a biscuit base and pies are typically made with a pastry base. I don’t know why it’s called Banoffee Pie but let’s not get into that discussion here. Let’s talk about the deliciousness that is Banoffee; It is my all-time favourite desert. If I am in a restaurant and it’s on the menu there is no question about what I’ll be getting after my main course (no matter how full I am- I always make room)!

I met my match in London with my friend Sarah.. Finally someone who shared my passion (maybe slight obsession) for Banoffee! But this shared passion / obsession was short lived when Sarah decided to up sticks and move back to Ireland. The night before she was due to board a plane to our beautiful Emerald Isle we all gathered for her ‘final supper’ in London town. Of course what else would I be providing for desert but Banoffee Pie.

For your typical biscuit base it would be a mix of digestive biscuits and butter. For me this posed a slight issue as one of my friends is coeliac and I definitely didn’t want him to miss out on desert. No fear, I knew my local supermarket had gluten free digestive biscuits in stock. I did a bit of research and learned from reading a few baking forums that some GF digestive biscuits tend to be drier than other digestive biscuits. If your biscuit base is too dry it will just crumble and would be very hard to slice and dish up. I thought to myself I could just add more butter but then I didn’t want the taste of the butter to come through. I decided to add ground almonds to the mix. I had never done this before but it worked out so well I will be adding it to all my Banoffees going forward! 

For this recipe I used a 9” spring form cake tin.

Ingredients

Biscuit Base
300g Gluten Free Digestive Biscuits
100g Ground Almonds
100g Butter

Caramel
1 Can Condensed Milk (397g)
100g Muscovado Brown Sugar
100g Butter

Top
4 Medium Bananas
350mls Double Cream (whipped)
Grated Chocolate (for decoration)

Method
Begin by breaking up your digestive biscuits (either in a food processor) or by hand until you have a sandy consistency. Melt your butter and add to your crushed biscuits with the ground almonds. Once all combined you should have a wet sand consistency. Transfer into the cake tin and press down to ensure the mix is well compacted into the bottom of the cake tin. Place in the fridge for a minimum of 30 minutes and you can move onto your caramel.

Melt your butter and sugar in saucepan over a medium heat while continually stirring. Once the sugar has all dissolved add your condensed milk and bring to the boil- stirring constantly. Boil for about one minute until you have a thick caramel consistency. Spread over the biscuit base and leave to cool (may take over an hour).

Once the caramel has cooled completely slice your bananas and layer over the caramel. Whip your cream until you have soft peaks and layer this over your caramel. I then grated some chocolate and sprinkled over the cream for decoration but this is completely optional.

I hope you enjoy baking this is. It is such a simple recipe that requires no baking only time and patience. If you have any questions please don’t hesitate to contact me. You can do so here or on my facebook or twitter pages!

Happy Baking!

O x 

**I am sorry I don't have any more pictures.. I unfortunately left my camera a home when I went to my friends house to make this! There will be more pictures on my next post I promise!**

Tuesday 19 August 2014

Rainbow Cake


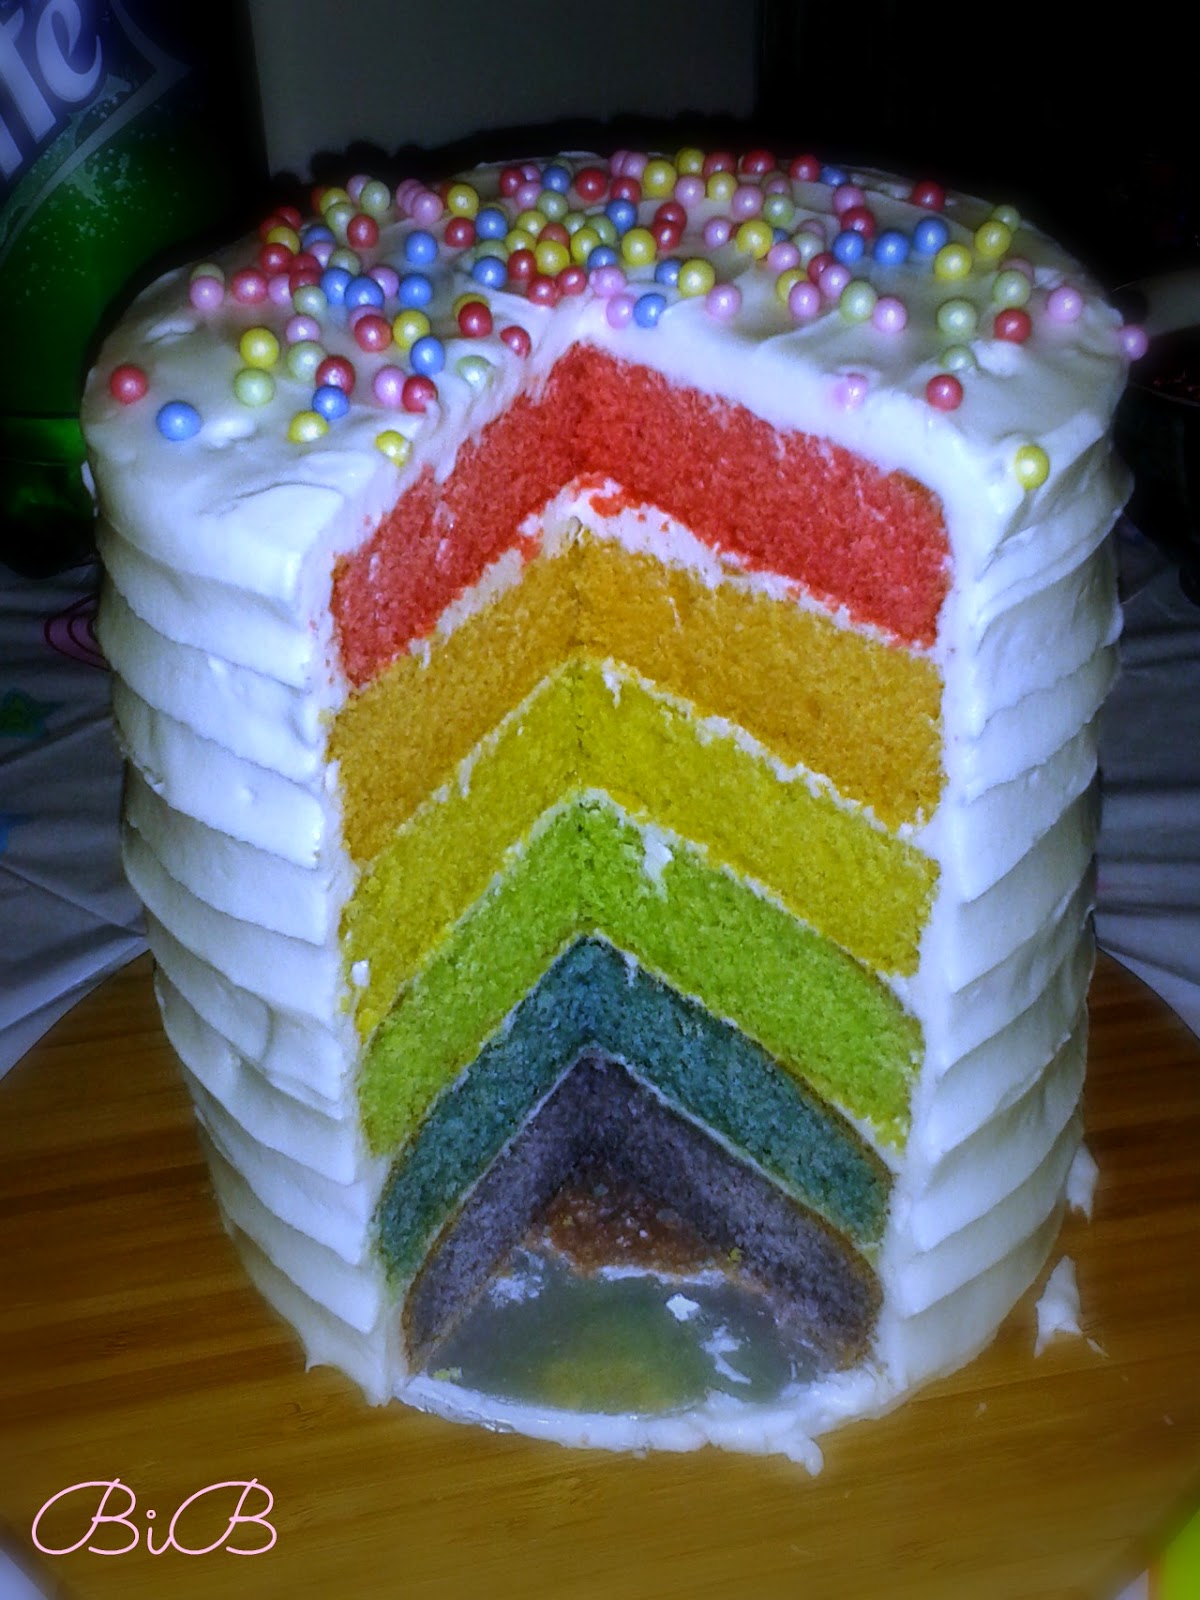
It was my friend, Áine's birthday last week and I decided to make her something special. She mentioned to me nearly a year ago that she loved Rainbow Cakes. This was before I started my blog and she asked me would I ever make her a rainbow cake? Challenge accepted!! What better time to try than for her birthday!! I had never made a rainbow cake before but I was very much looking forward to trying it. Off I went to the wonderful world of the internet. I researched blogs and YouTube tutorials.. finding out what sponge recipe best suited it, what food colouring to use, what size cake tins to use? I found a lot of great tips from a blogger I love Kerry Cooks. It was here I found a great tip to use tin foil flan cases from wilkos to bake the 6 layers of sponge. They were 6" foil cases and they worked out perfectly. Not only did I not have 6 cake tins the same size but I also hate washing up so the idea of just throwing these out after use really appealed to me!! 

(Image- www.wilko.com) 

I forgot to mention that I was against the clock baking this cake. You can by all means bake 2/3 layers at a time if you have the time but unfortunately I had to get all layers in the oven at the same time and cooled within a short time span. You see, we were having a surprise party for Áine on a Friday night so we had to come up with an excuse to get her out of the house for a couple of hours on the Thursday night (she's also my flatmate). We managed this with quite a few lies and I'd like to take this chance to thank everyone involved and sorry again Áine! So that is why I had to bake them all in one go.. which might I add was a bit stressful but worth it in the end!! 
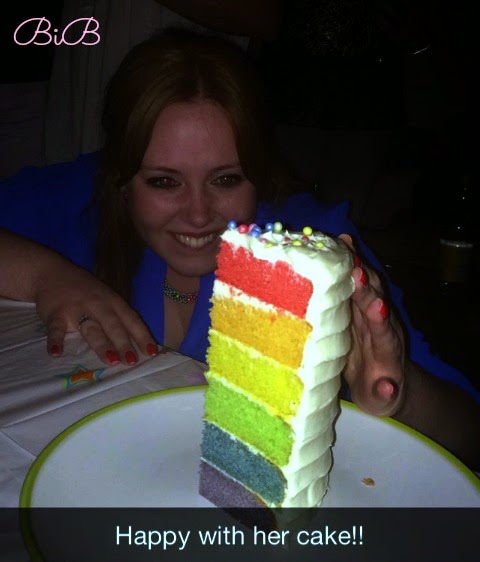


So back to the cake..  When it comes to the food colouring it is very important to use a good quality GEL food colouring. I emphasise the use of a gel food colouring because with a rainbow cake you need good vibrant colours. Liquid food colourings just don't give a strong enough colour and they also water down your batter when you add too much and believe me you don't want to skimp on the food colouring!! I used Squires Kitchen QFC Gel Food Colours that I bought from my local catering store. You can buy these online or I would also recommend Wilton Gel Food Colours available online. I used 5 colours* to achieve my ideal cake colours.. Red, Yellow, Green, Blue and Purple. I mixed my red and yellow to make the Orange so I had 6 colours in total.

(Image- www.squires-shop.com) 

For the sponge I used a Victoria Sponge recipe and filled and covered the cake with Cream Cheese Frosting (of course!). As I mentioned before this cake is quite time consuming but it is so worth the time and effort to see the look on everyone's face when the cake is cut into. I'd also like to take this chance to apologise for the lack of photographs of the making process. As I said, I was really against the clock and it just completely slipped my mind. If I do get the opportunity to bake this cake again I will update this post with more pictures! The below ingredients are for 6 x 6" cake tins. If you are having trouble adjusting the measurements to suit the number / size of cake tins you are using please don't hesitate to contact me either here or on any of the social media platforms I use and I'll try and help you out. 


Ingredients
(sponge)

400g Caster Sugar
400g Butter (at room temp)
8 Eggs
400g Self Raising Flour (sifted)
2 tsp Baking Powder
2 tsp Vanilla Extract
Gel Food Colouring* (see above) 

(frosting)
120g Butter (at room temp)
280g Cream Cheese Frosting (from fridge)
680g Icing Sugar
1+ 1/2 tsp Vanilla Extract

Prepare

Grease your cake tins** and preheat your oven to 170C. 

Method

As I mentioned above I cooked 6 layers at once so I made one big batch of batter. I was using a free standing cake mixer with a paddle attachment. I began by beating my butter and sugar together on a medium speed until light and fluffy. I then added my eggs (beaten), flour, baking powder and vanilla extract and continued to mix on a low-medium speed until they were all well incorporated.

I then divided my cake batter evenly between 6 bowls. I did this by using an ice-cream scoop and counting equally between each bowl. I then coloured my batter accordingly and placed them into the prepared cake tins. Like I said before do not skimp on the food colouring and it's also important to note that the colour of the cakes do adjust when baked (become more vibrant) so remember this too. I used a pallet knife to smooth the batter out before placing in the oven and cooking for approximately 22-25 mins. Because I was using small cake tins I had to watch them carefully to ensure they didn't burn. If you are using bigger cake tins just adjust the cooking time accordingly. You will know your cakes are baked when a skewer or cocktail stick inserted in the middle comes out clean and the sides of the cake start coming away from the tin. 

It is very hard to judge the colour of the cakes when they first come out of the oven so do not be deterred if the colour doesn't look great. I was SO disappointed (ask my flatmates) with the colour of mine but cakes do turn a golden brown colour when baked and did not reflect the colour waiting inside!!


Leave your cakes to cool completely before decorating. I left mine over night as I was decorating it the next day. I wrapped them in cling film and placed them in air tight containers over night. When I got home from work on Friday I went straight into my icing!! I started by placing my butter and HALF of my icing sugar into the mixer and mixing on a low speed to begin with. It is so important that your butter is softened for this. Once combined I added the remainder of my icing sugar and continued to mix on a medium speed. If you are using a hand held whisk or have a small mixer you can make this in 2 batches. Once the icing sugar is combined add in your cream cheese and vanilla extract and mix on a medium-high speed for at least 5 mins. 

Now the assembly... This will be extremely difficult if you are working in a hot kitchen so do try to ensure you're working in a cool / dry environment. Begin by leveling your sponges. It will be very hard to stack your cake if your sponges have domes on top! Get a sharp serated knife and put the knife against the cake where you want to start cutting it and gently cutting into the cake turn it slowly and you will get an even level all the way around. Here is a great tutorial I found on YouTube by The Boy Who Bakes on how to level a cake. 

Once you have all your cakes level begin stacking them. Place a small smear of frosting on your cake board or plate and place your first layer of cake onto this (purple) and then spread a thin layer of frosting onto the top of this sponge. Then stack your next layer (blue) and again spread a thin later of frosting on top and repeat until you have your whole cake assembled (green, then yellow, then orange and red on top). Once stacked you can now crumb coat your cake. 

Crumb coating is applying a thin layer of frosting to the top and sides of your cake to catch any crumbs that may lift off your cake when icing it. Again, I found a great tutorial on YouTube from The Boy Who Bakes here. This is where working in a cool / dry environment is so important because you want to keep your cake as straight as possible. If your frosting is too warm or soft your cake layers will start sliding and you will end up with a leaning tower of pisa cake!

Once you have your crumb coat applied place into the fridge for a minimum of 30 mins to one hour. When your cake comes out it should be cool to touch and not leave any finger impression. If it does place back in the fridge for another half hour. Also remember to put the remainder of your cream cheese frosting in the fridge while you're waiting so it won't go too soft but give it a nice stir with a spatula when you take it out again or it may be too hard to spread. 


When your crumb coating has set you can now ice the rest of your cake. It is important to get a nice thick coating of frosting so you cannot see all the layers of cake underneath! You can frost it however you want.. using a piping bag, spatula or just spooning it on and spreading with a knife. I just roughly layered on the frosting evenly and then using my turntable and pallet knife I spun the cake while applying a very light pressure to the frosting and moving the pallet knife gently up the cake. I then decorated it with soft shimmer pearls I got from the Dr Oetker range in my local supermarket.

I know this is such a long blog post but please do not be deterred by this. I can honestly say I thought this cake was going to be a lot harder than it was. I know you're probably thinking "easy for her to say" but I would not put this recipe up on my blog if I didn't think each and everyone of you was capable of making this cake! My blog is called 'Breaking into Baking' after all! 

If you want to bake this cake and are unsure or have any questions please don't hesitate to contact me on facebooktwitter or even instagram. You can even leave your comments down below and I will do my very best to answer all your questions!

Happy Baking,
O x


** If you are using regular cake tins grease and line the bottom of them with parchment paper. If using the disposable ones you only need to grease them.

Tuesday 29 July 2014

Oreo Cupcake (by Cupcake Jemma)

I made these cupcakes last week for a friend in work. He had asked me to bake some cakes for him to bring in for his birthday (I still think that tradition is weird!). After sampling some of the previous bakes I had brought into work he requested my Jam and Cream Swiss Roll and Passion Fruit Cheesecake. He then asked me to bring in something else and left it up to me to decide. I had recently seen a video on YouTube belonging to Cupcake Jemma. Jemma Wilson is the founder and owner of Crumbs and Doilies Cupcakes and shares the most delicious recipes on her YouTube channel. Head over to her website and have a look at some of the amazing cupcakes and cakes she bakes.. delicious!! 

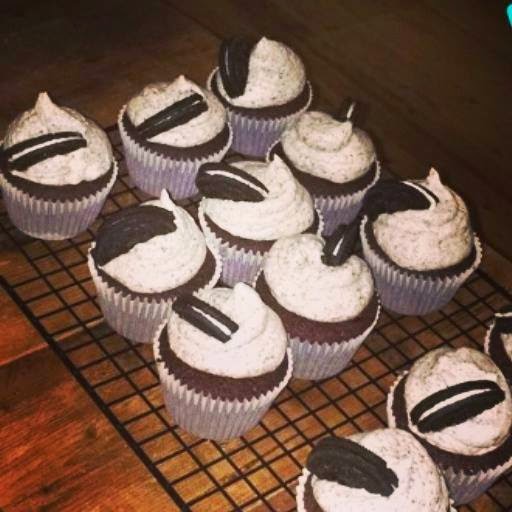
So I decided to make these cupcakes and even though I hadn't made them before after watching Jemma's video a few times I decided to crack on and just do it! They turned out perfectly and they were so delicious! They are by far the nicest cupcake I have ever had.. but don't take my word for it.. try them yourself!! Just a quick apology.. I didn't take any pictures of these cupcakes myself as i was absolutely shattered after an evening of baking. My flatmate took one that I stole from Snapchat (below) that those of you who follow me on facebook, instagram or twitter will have already seen! 


Ingredients:

Cupcakes
85g Self Raising Flour
25g Malt Powder (Horlicks or Ovaltine Malt Drink)
15g Cocoa Powder
1/4 tsp Bicarbonate of Soda
Pinch of Salt
125g Caster Sugar
135g Unsalted Butter (at room temperature)
2 Large Free Range Eggs
1 & 1/2 tbsp of Whole Milk
1/4 tsp Vanilla Extract
2 Packets of Oreo Cookies

Frosting
200g Unsalted Butter (at room temperature)
450g Icing Sugar
3 tbsp Whole Milk
1/4 tsp Vanilla Extract
1/2 Packet of Oreo Cookies (crumbed)

Prepare:

Line a cupcake / muffin tin with cupcake liners (recipe makes 12 cupcakes) and preheat the oven to 170C.

Method:

Sieve together your flour, horlicks, cocoa powder, bicarb, salt and sugar in your mixing bowl. Add your butter and eggs and mix on a medium speed. Once well combined add your milk and vanilla extract and mix for a further minute. 

Place one whole Oreo cookie in the bottom of each cupcake case then fill the cupcake case 3/4 way full with your mixture (about a heaped tablespoon). Place in the oven to bake for about 22mins or until a cocktail stick stuck in the middle comes out clean. Remove from the oven and leave to cool on a wire rack while you make your frosting. 

Start by placing your butter in your mixer and beat for about 5 mins on a medium speed until the butter is pale and fluffy. Add in half of your icing sugar and mix until combined. Repeat with the second half of the icing sugar and mix for a couple of minutes. Turn down the mixer to a slow speed and add the milk and vanilla extract and mix until combined. Turn off your mixer and Fold in your Oreo Crumbs. I crumbed my Oreo cookies in a food processor until I got a fine crumb but you can also put them into a Ziploc bag and bash with a rolling pin! 

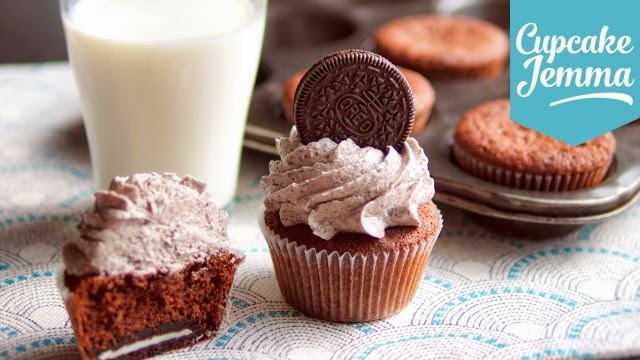
Put your icing into a piping bag and pipe onto your cupcakes or simply spread the delicious frosting all over the top of the cupcake. I then decorated the cupcakes with half an Oreo cookie  (or use a whole cookie) stuck into the frosting. You can never have too many Oreos in one cupcake!! 

(image from Google image search)

I hope you do try these cupcakes.. believe me they are to die for!! Have a look at Jemma's YouTube video too for a better look at these yummy cupcakes! 

Happy Baking! 
O x


Tuesday 15 July 2014

Raspberry and Lemon Loaf Cake

One of the things I love most about summer is the food. The new potatoes, the summer fruits and always having an excuse to eat ice-cream (not that I ever need an excuse to eat ice-cream). The biggest one for me though is the fruit and especially strawberries and raspberries. Anyone from Ireland knows that the best strawberries and raspberries come from Wexford and I have the fondest memories of driving up to visit my Granny in Dublin during the summer months and stopping off to get fresh strawberries and raspberries from the vendors dotted along the coast road to Dublin from Waterford (before the motorway existed that is). Now unfortunately this recipe doesn't include Wexford raspberries as they are pretty hard to come by in London but the raspberries I am using are perfectly acceptable!! 


My parents were visiting at the weekend and while mum was engrossed in the Golf and Dad in his Sunday paper I thought it was the perfect time to go baking. They always complain they never get to sample the treats they read so much about online I couldn't let them leave without baking something for them. We had some raspberries left over from the previous nights desert and I spotted a lonely lemon in the fridge and decided to try out a new recipe. This cake is so tasty and easy to make and lasts for days if stored in an air tight container in a cool dry place. Why not try it for yourself?

Ingredients:

175g Butter (at room temperature)
175g Caster Sugar
175g Self Raising Flour (sifted)
3 Eggs
1 tsp Vanilla Extract
Zest of 1 Lemon (grated)
1 Cup of fresh Raspberries

300g Royal Icing Sugar
Juice of 1 Lemon

Prepare:

Grease and line your loaf tin with butter and parchment paper and preheat your oven to 170C. I used a 2 lb (or 900g) loaf tin.

Method:

Cream together your butter and caster sugar in a mixing bowl until a light and fluffy consistency. It is important that your butter is at room temperature as it helps to dissolve the sugar. If your butter is too cold your mixture will just clump together and you will not get the proper consistency. One by one add your eggs mixing in between each egg. For this cake I used a handheld electric whisk. You can also use a free standing mixer with pedal attachment or unlike me if you have great upper arm strength a regular balloon whisk! 

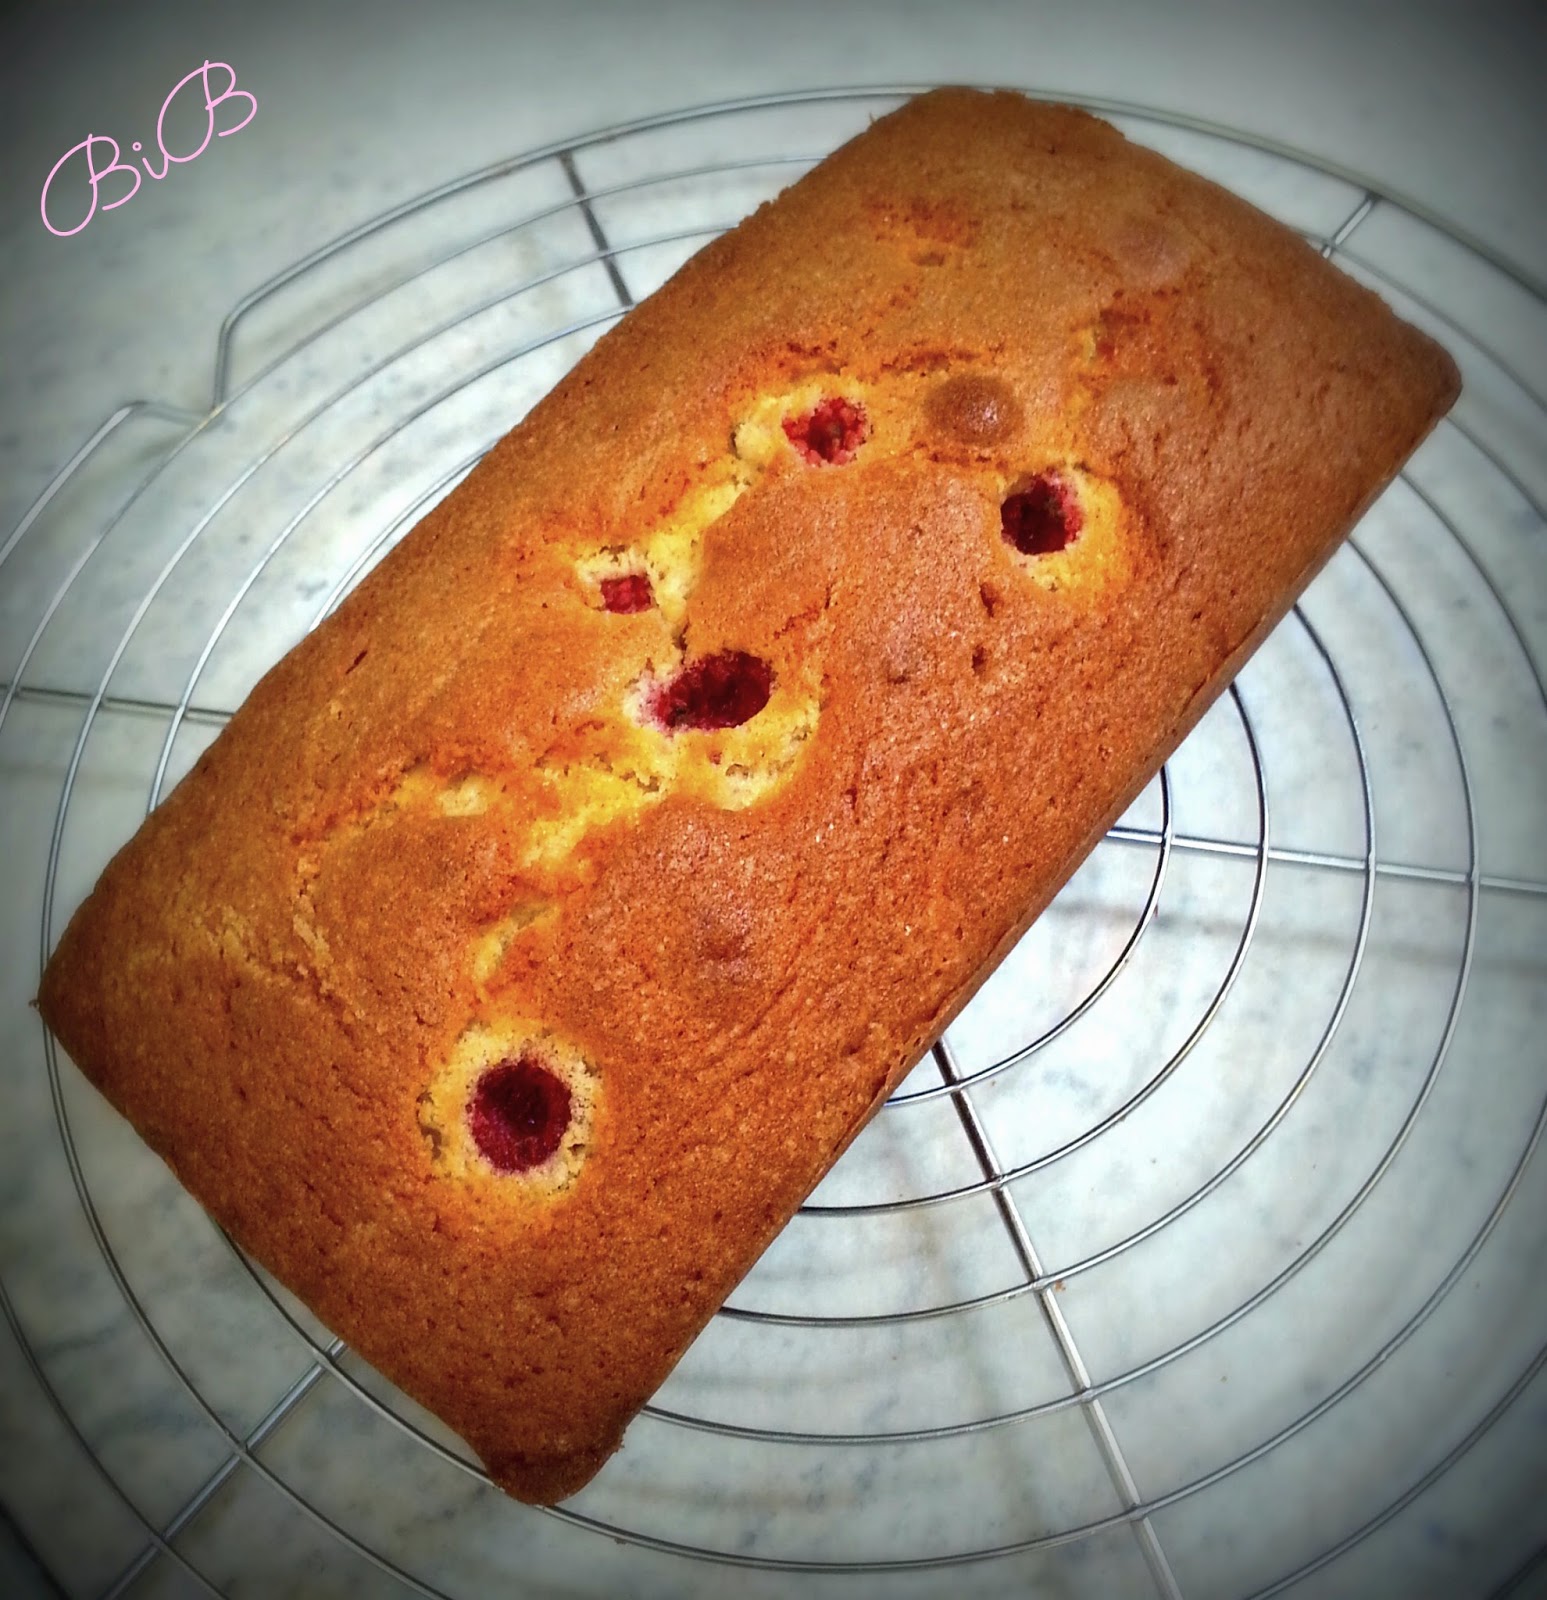
Once all your eggs have been added stir in your vanilla extract and lemon zest. When that is all combined you can fold in your flour. It is important to fold in your flour as opposed to mixing it in because you want to keep as much air in the mixture as possible to help the cake rise. Once the flour is well combined you can fold in your raspberries. Spoon the mixture into your prepared tin and place in the oven for 55 mins - 1 hour. You will know the cake is cooked when it is golden brown in appearance and a skewer or cocktail stick placed in the middle comes out clean.


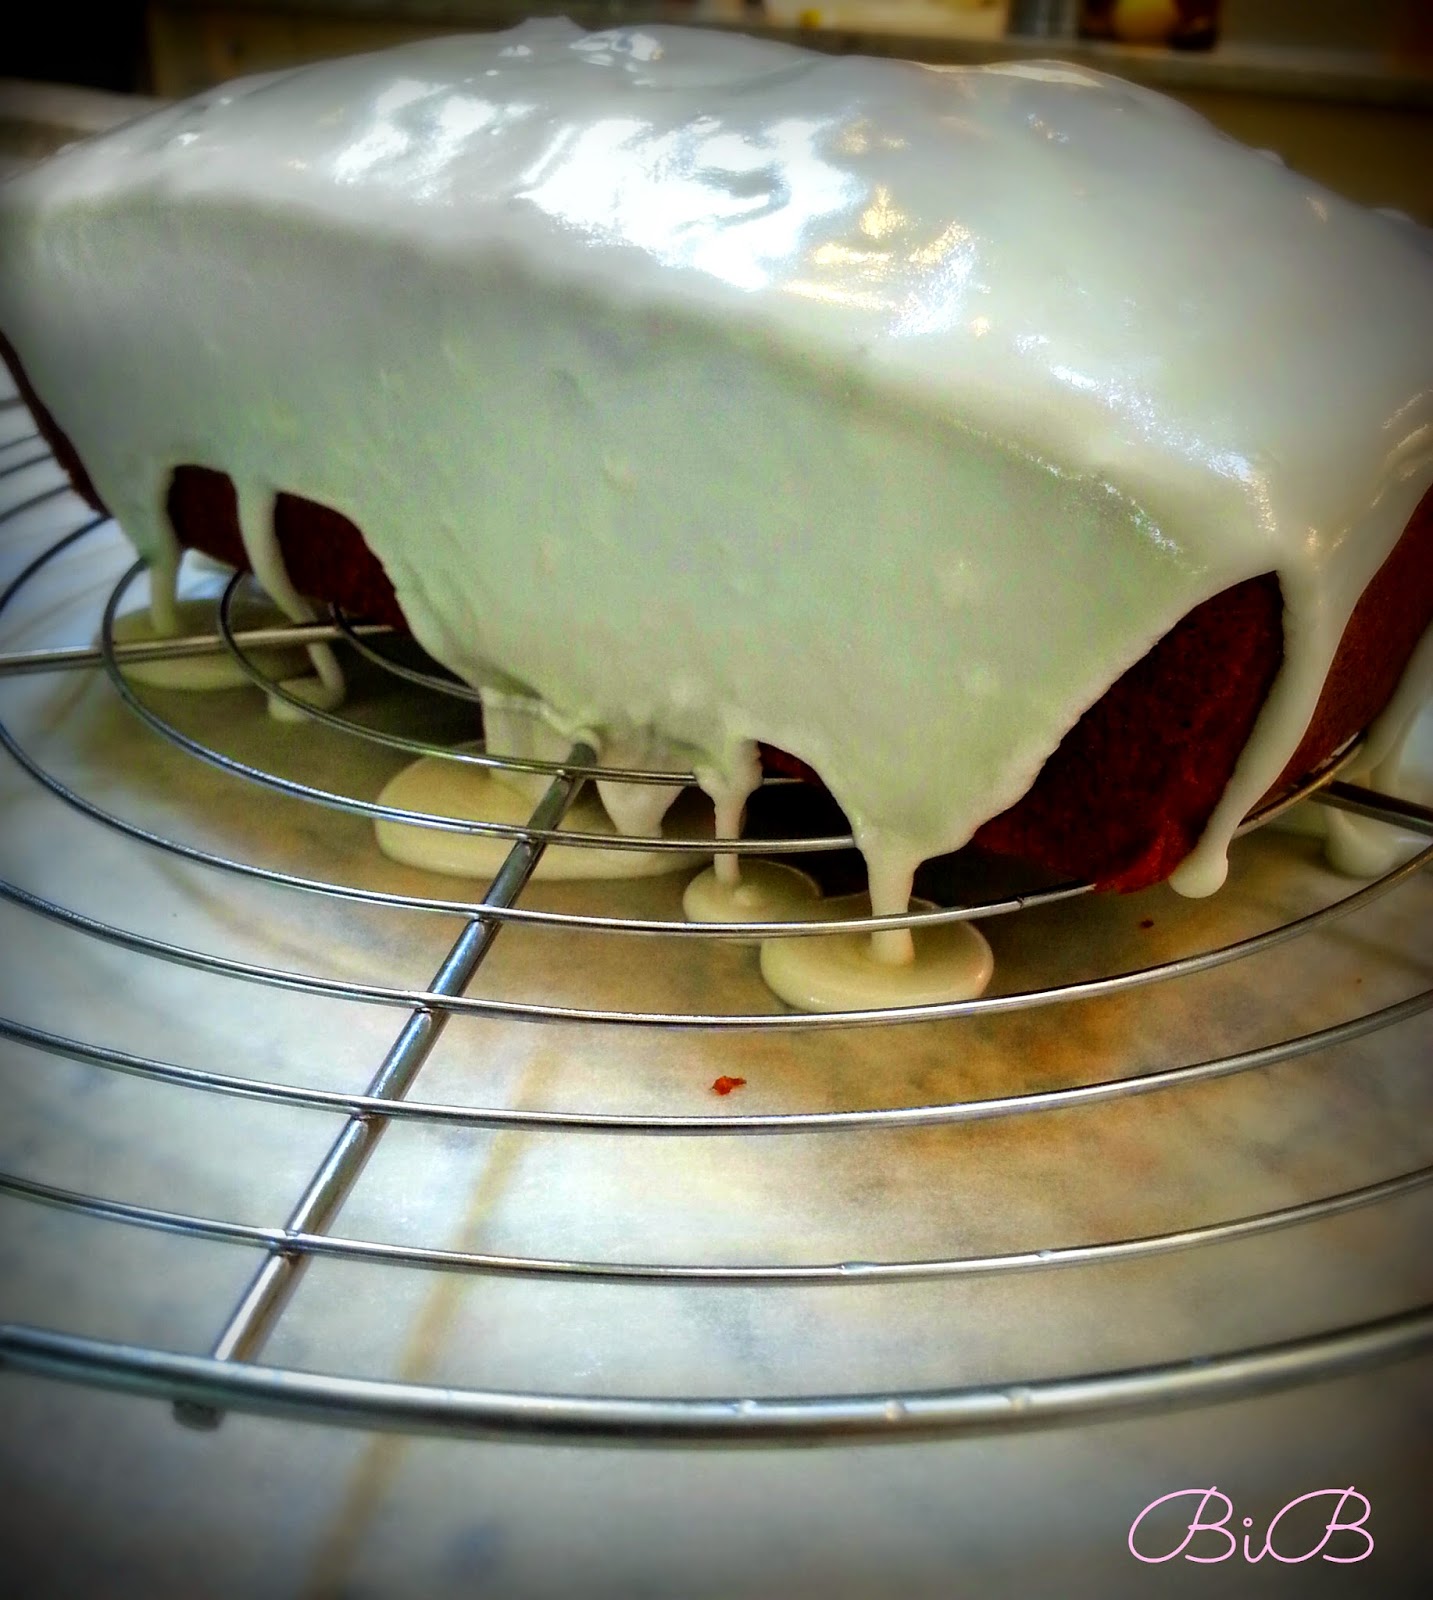
Place on a wire rack to cool and go ahead and prepare your icing. Place your icing sugar in a mixing bowl and slowly add your lemon juice. Begin with 2-3 tablespoons and one teaspoon at a time after that if needed. Stir until you get a runny paste consistency. You will know the icing is done when you lift and pour a spoon of the icing onto itself and it holds its shape for a few seconds before disappearing. 


Once the cake has cooled COMPLETELY you can pour the icing over the entire top of the cake and let it ooze down the side of the cake naturally. Try to resist coaxing it down as you may pull crumbs with it! You may want to put some kitchen paper or parchment paper under the cooling rack to catch the excess. Leave the icing to form a slight crust before slicing and enjoy :) . 

I hope you do try out this recipe and if you do please let me know how you got on. As always you can find me on FacebookTwitter and Instagram so tag me, tweet me or just leave me a message telling me how you got on. I hope you are all having a lovely summer so far and the weather is nice wherever you're reading this from! 


Happy Baking,
O x


Monday 16 June 2014

Vanillla and Passion Fruit Cheesecake

It's SUMMER!!
Wow the weather has been amazing the last few weeks. This weekend has been a bit dull though so I thought I'd brighten up with a little summer bake! I have a new found love and it's with passion fruit.. I am obsessed! It all started with a passion fruit martini and then suddenly passion fruit began dominating my dessert selection when eating out. I cannot get enough of it so I thought I had to try a dessert with passion fruit and that's just what happened today. I am staying with family this weekend in a house where cheesecake is always a winner in the dessert stakes and this time I decided to mix it up a bit. Instead of doing a baked cheesecake which I have done in the past I decided to do a no bake cheesecake. I have to say it was absolutely delicious and so easy to make. The creamy sweet cheesecake with the bite of the passion fruit is in my opinion my yummiest bake I've made this summer! I hope you guys get a chance to try it and like it as much as I do!


Ingredients:

100g Butter
350g Digestive Biscuits
250g Mascarpone Cheese
80g Icing Sugar
2 tsp Vanilla Extract
400ml Creme Fraiche
300ml Double Cream
5 Passion Fruit
Caster Sugar (amount determined by fruit of Passion Fruit)

Prepare:

Grease and line a 9" Springform Cake Tin with parchment baking paper.

Method:

Begin by breaking up your digestive biscuits. You can do this by putting all your biscuits in a ziplock or freezer bag and bashing with a rolling pin (as you can see below). Alternatively you can break them into a food processor and blitz them until they are a sandy consistency.  


Place your butter into a microwaveable bowl and melt in the microwave. This should take about 1-1.5 minutes depending on the wattage of your microwave. When melted combine the butter with the biscuit and mix until you get a wet sand consistency to the biscuit. Then transfer biscuit mix into your cake tin and press firmly down into the base to create an even layer. Leave to set in the fridge for at least 30 minutes.

While your base is setting you can prepare the filling. Using a hand held whisk or electric mixer beat your mascarpone cheese and icing sugar until soft then stir in your creme fraiche and vanilla extract until well combined. If you have a free standing mixer you can use this with the paddle attachment on a low speed.

In a separate bowl whisk your double cream until you get soft falling peaks. Be careful not to over mix!! Fold this cream into your cheese and creme fraiche mix. This mix is now ready to spread over your biscuit base. Spread evenly and place in the fridge to set for at least an hour.

You can now begin your coulis. Cut your passion fruits and scrape out the juice (pips included) into a cup or mug. Place this juice into a small saucepan and measure roughly the same amount of caster sugar into the mug. I used a white mug today and filled half the mug with the passion fruit juice so it was pretty easy to see how much caster sugar I needed. Place the sugar into the saucepan with the juice and bring to the boil, stirring often. Once it has come to the boil bring down to simmer and leave for 3-4 minutes. Then turn off the hob and leave to cool. Once the coulis has cooled you can spread it over the cheesecake. I made this a couple of house in advance so I put the coulis over the cheesecake while still in the tin and placed it back in the fridge. If you're stuck for time though the coulis is fine poured over the cheesecake right before serving.


I would love to hear from you if you try this recipe. Take my word for it (and my family's) it was delicious. If you have any questions you can find me on facebooktwitter and instagram. I hope you are all having a lovely summer so far. If you have any requests for summer bakes don't hesitate to contact me and just ask!


Happy Baking,
O x


Monday 2 June 2014

Carrot Cake with Cream Cheese Frosting

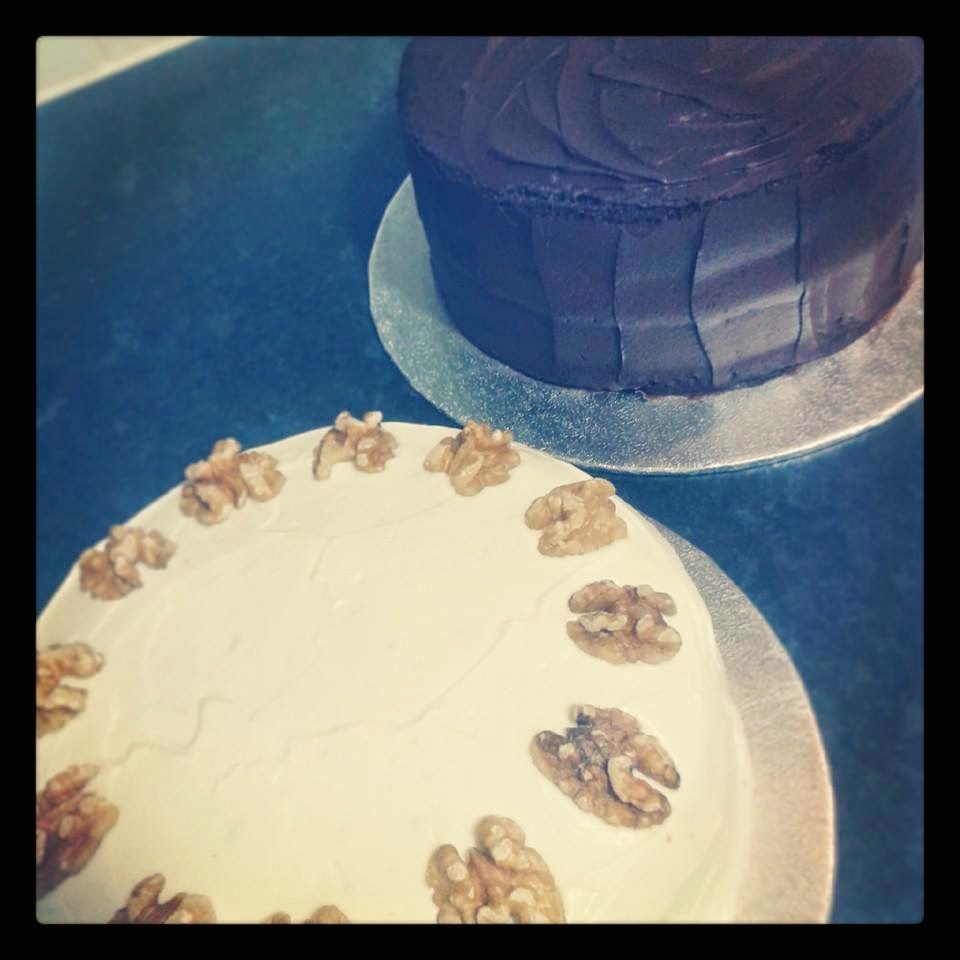
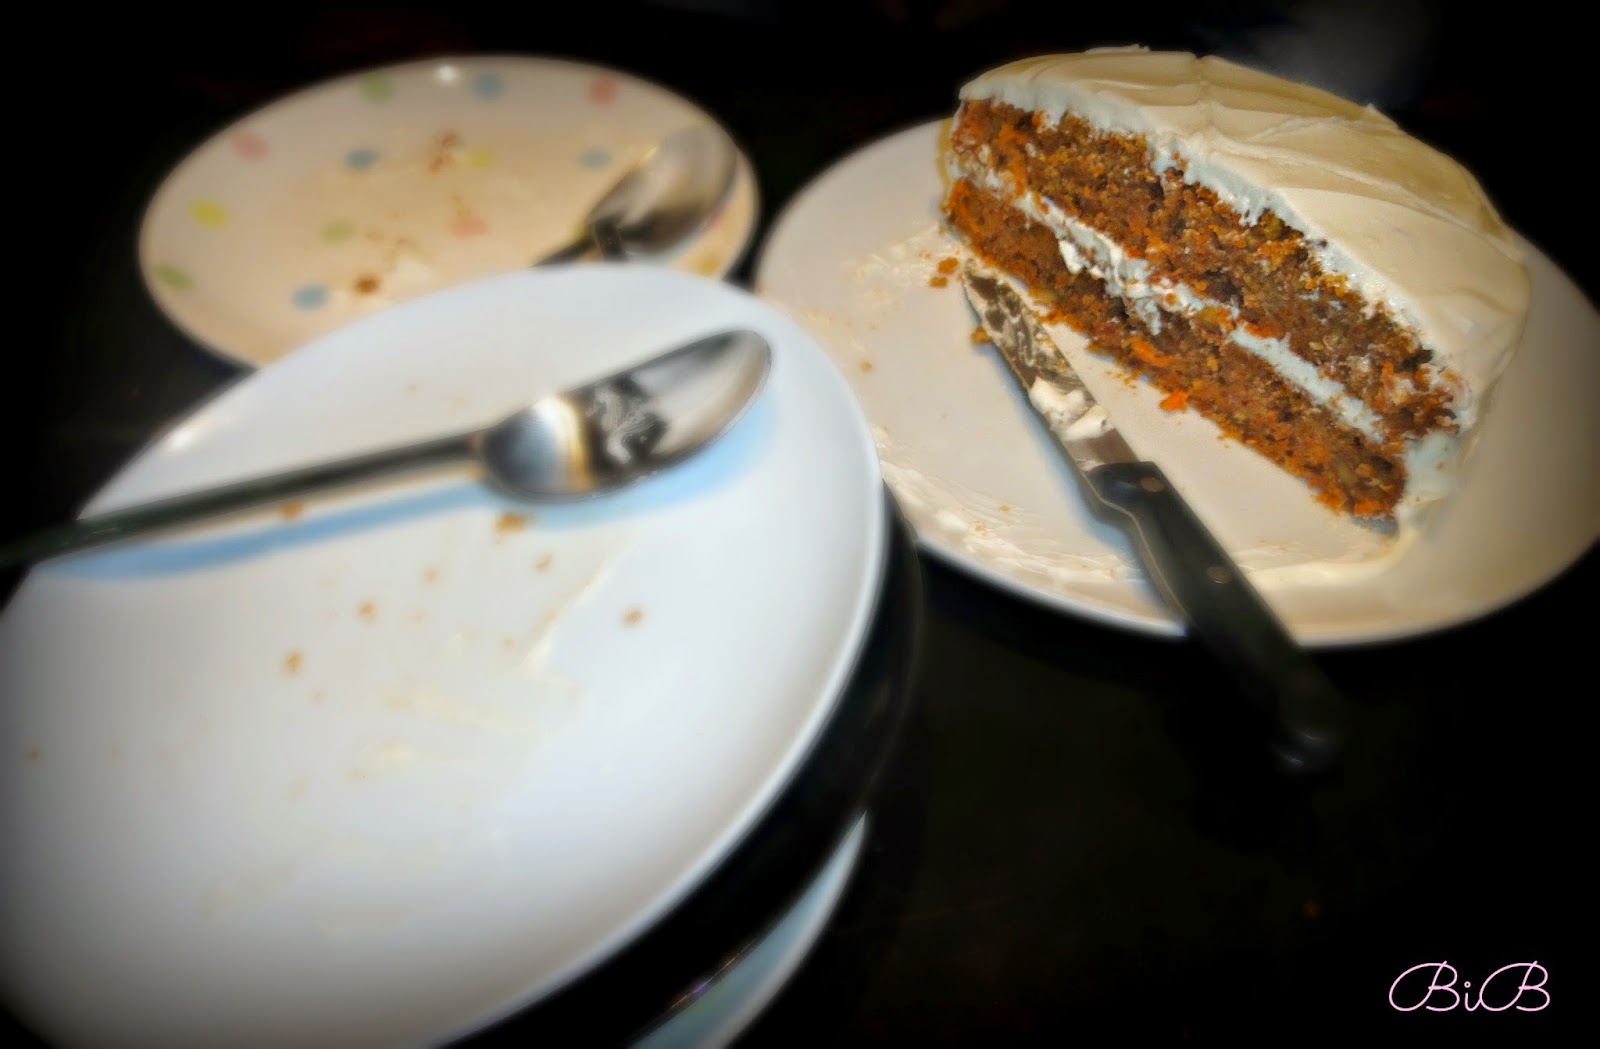
Any of you that follow me on Twitter / Instagram will have seen that it was my birthday last month. When I moved to London and started my first job over here I found it very odd that on your birthday you are the one that brings in the cake to work. Very funny tradition I thought but ok! Although I work in a big and busy office I work on my own tucked away from everyone so last year I didn't tell anyone it was my birthday. On the day itself though word got out that it was my birthday and everyone was asking "Where's the cake??". I had only just started working in this job at the time so I just shrugged it off "What cake? Oh I was meant to bring in cake? I didn't know, I'm new to this country..!!" This year I obviously couldn't use that excuse having been in the UK for nearly 2 years now. I also have gotten to know everyone I work with better and vise versa so they all knew I loved to bake.. I had to bring in something I baked myself. I decided to do a chocolate cake and carrot cake. They went down a treat and when I mentioned the cakes I baked for my birthday on Facebook I was asked could I put up my carrot cake recipe up here so here it is.


I was going for dinner in a friends house on Saturday night so I thought it would be the perfect excuse to bake a cake. I try not to bake too much when I have nobody to give it to or somewhere to bring it as the temptation at home is just too much!! It went down very well and everyone loved it. There were two friends of mine who are coeliac at dinner so I made my cake gluten free but as I previously mentioned in my lemon slices post you can use either gluten free or regular self raising flour in this recipe. I used a cream cheese frosting with this recipe (my all time favourite frosting).


Ingredients

Cake
190g Self Raising Flour / Gluten Free Self Raising Flour
300g Caster Sugar
1.5 tsp Cinnamon
250mls Vegetable Oil
3 Eggs
250g Carrots (grated)
100g Chopped Walnuts

Cream Cheese Frosting
75g Unsalted Butter (at room temperature)
450g Icing Sugar (sifted)
180g Cream Cheese (Philadelphia- Full fat- From fridge)
1 tsp vanilla extract

Prepare

Pre-heat your oven to 180C or 170C Fan assisted oven. Grease and line two 8" round sandwich cake tins.

Method

In a large mixing bowl mix your flour (sifted), sugar and cinnamon. Add your oil and eggs to your dry ingredients. Stir until well combined. I just used a hand held whisk. These ingredients mix very easily. Once well incorporated stir in your carrots and walnuts. Divide your mixture between the two prepared baking tins and place in your preheated oven for 30-35 minutes or until a skewer placed into the middle comes out clean. You should also be able to press down the top of the cake and have it bounce back. Leave to cool in their tins on a wire rack and prepare your icing.


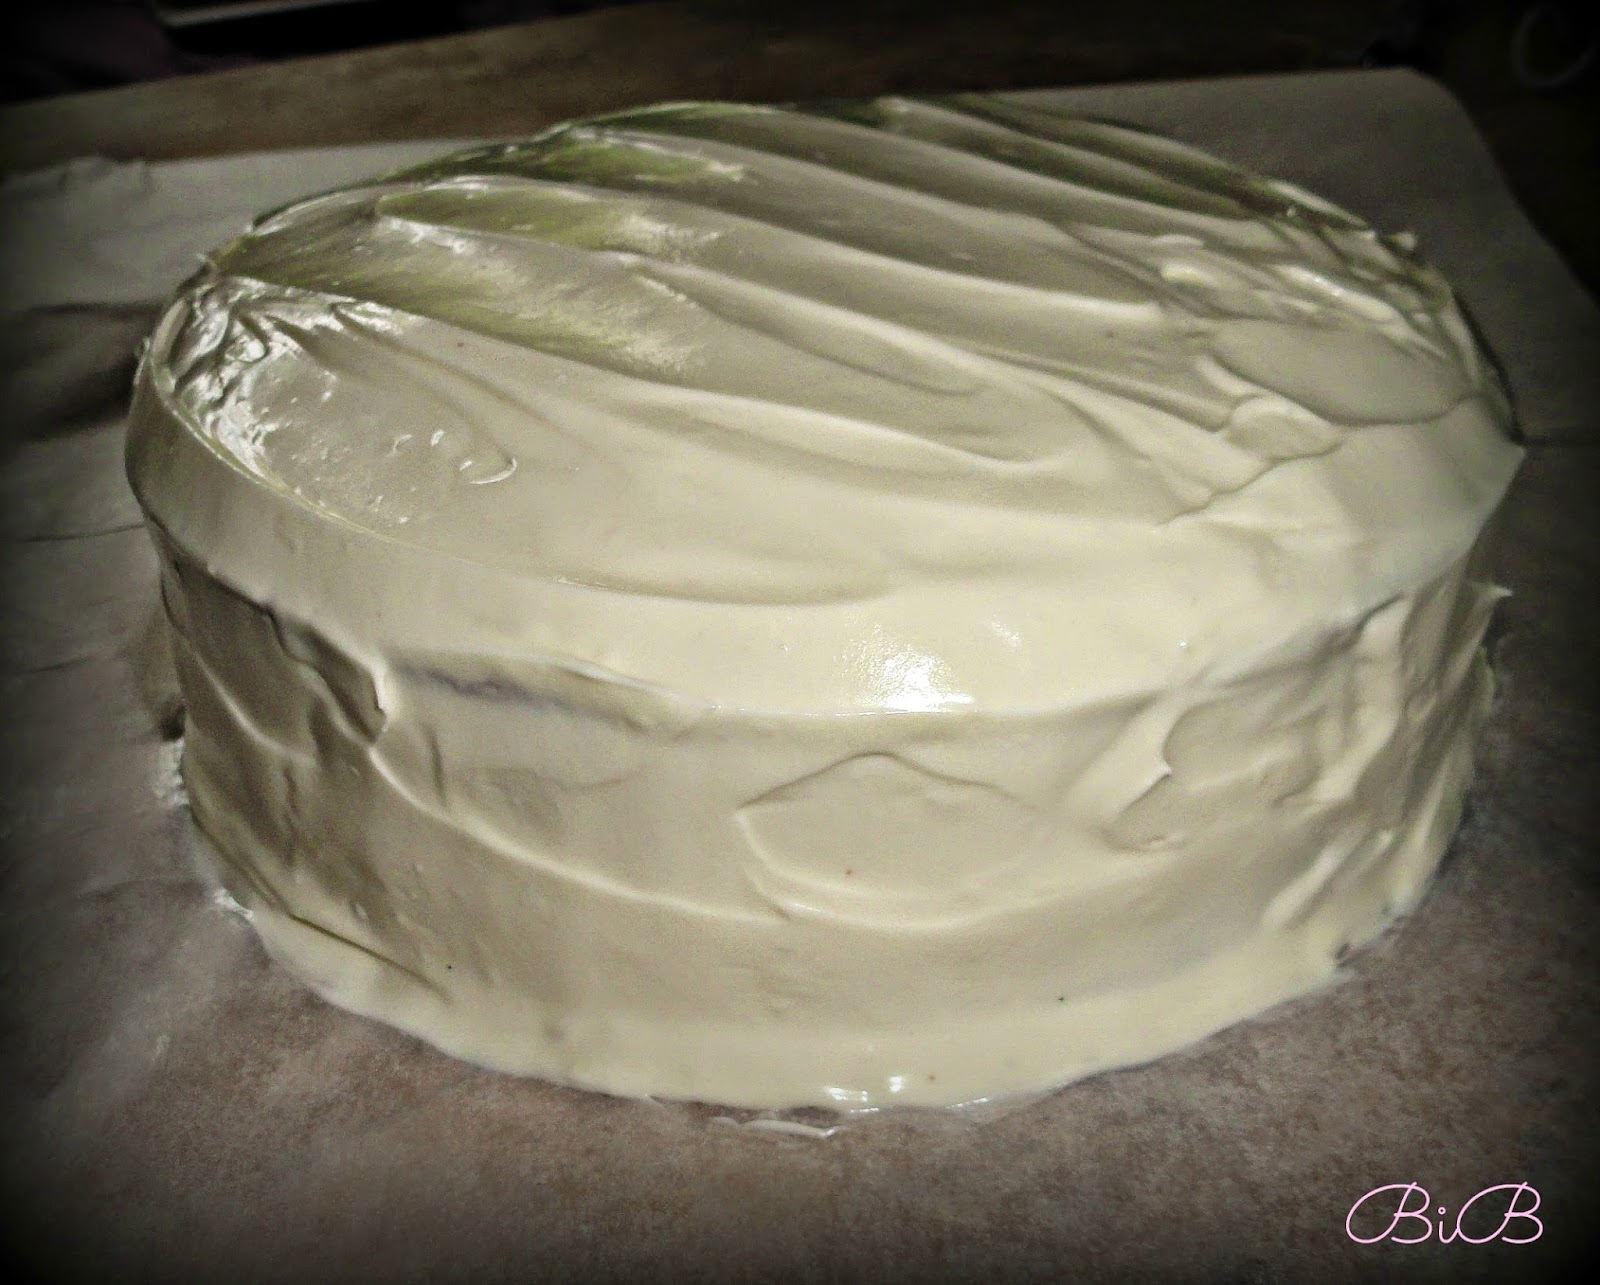
For your icing mix your butter and icing sugar with a hand held electric whisk or in a free standing mixer with paddle attachment on a low speed to begin with (unless you want a face full of dust) and slowly increase to medium speed. Once well combined add your philadelphia and vanilla extract in one and turn up speed to medium-high and leave to mix for about 5 minutes. Frosting will be light and fluffy. Be careful not to over mix as it can become runny quite quickly. Fill and ice your cake covering the top and sides if required. As you can see in the first picture above I decorated the carrot cake on my birthday with walnuts but for this one I left it plain. Decoration is optional!


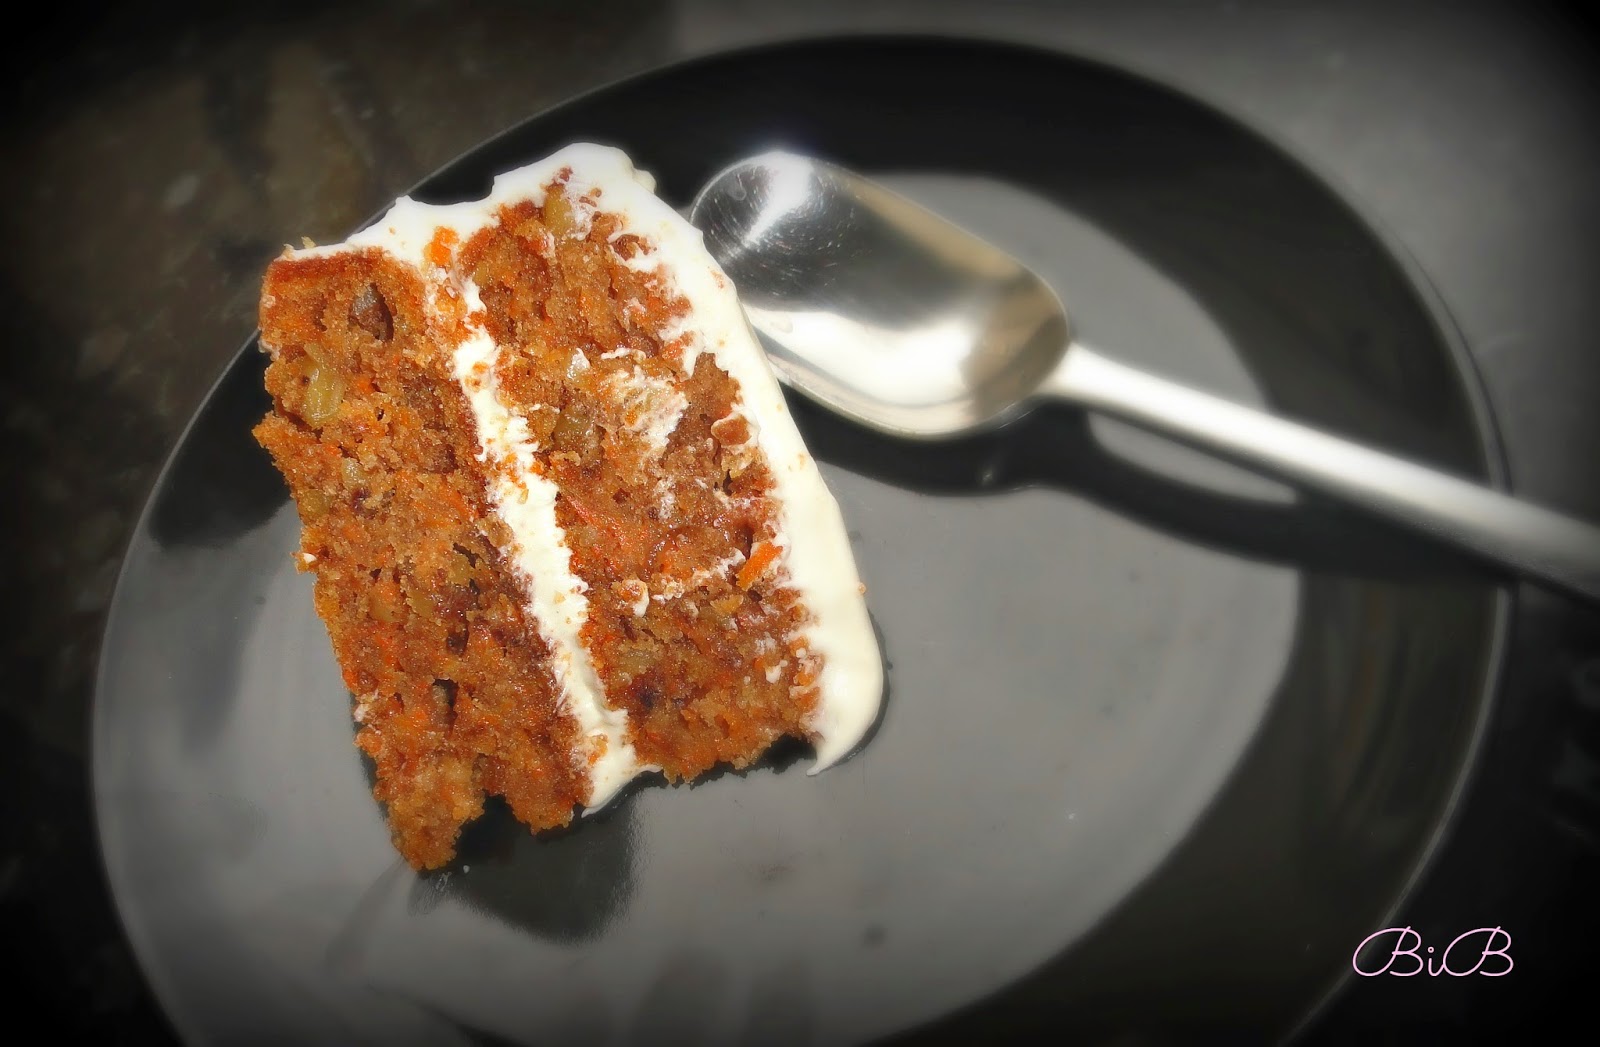
As you can see there was nothing left on the plates.. this cake is an all round winner. Let me know if you try it out and if you have any questions please don't hesitate to ask me. You can find me on twitterfacebook and instagram and I love to hear from you when you try out my recipes so feel free to contact me via any of those links or comment below. Requests for recipes are always welcome- I love a challenge!

Happy Baking,
O x


Thursday 22 May 2014

25% off BBC Bakes and Cakes Show, London!


The BBC Good Food Bakes & Cakes Show, sponsored by Lexus, launches at the beautiful Business Design Centre in Islington, London from 25-27 October 2014.   Bringing the popular BBC Good Food Bakes & Cakes title to life, the show will be packed with baking, bread-making and cake-crafting demonstrations, free master classes, and hundreds of products to get you baking like a pro. I for one cannot wait to attend and have it marked in my diary with months!! Find out more details at www.bbcgoodfoodbakesandcakesshow.com .

 Don't miss out on seeing your favourite baking stars, LIVE at the show!  Every full day adult ticket includes a seat for the Bakes & Cakes Theatre, where you can watch Mary Berry, Mich Turner, John Whaite, Paul Hollywood, and other expert bakers in LIVE 30 minute baking and technique demos (my idols.. so excited!!).


Whether you're new to baking or a seasoned baking veteran, the BBC Good Food Bakes & Cakes Show is the perfect place to meet bakers, cake-crafters and confectioners, learn new skills, and pick up all the essentials you need to develop your home baking hobby.


Tickets are now on sale now and you can get 25% off tickets just by quoting EBPAR1 when purchasing your tickets from the link below!


I hope to see some you there!
O x

(Images via BBC Good Food Bakes and Cakes Website)