Tuesday 28 October 2014

Halloween Special- Part 2!

Graveyard Brownies


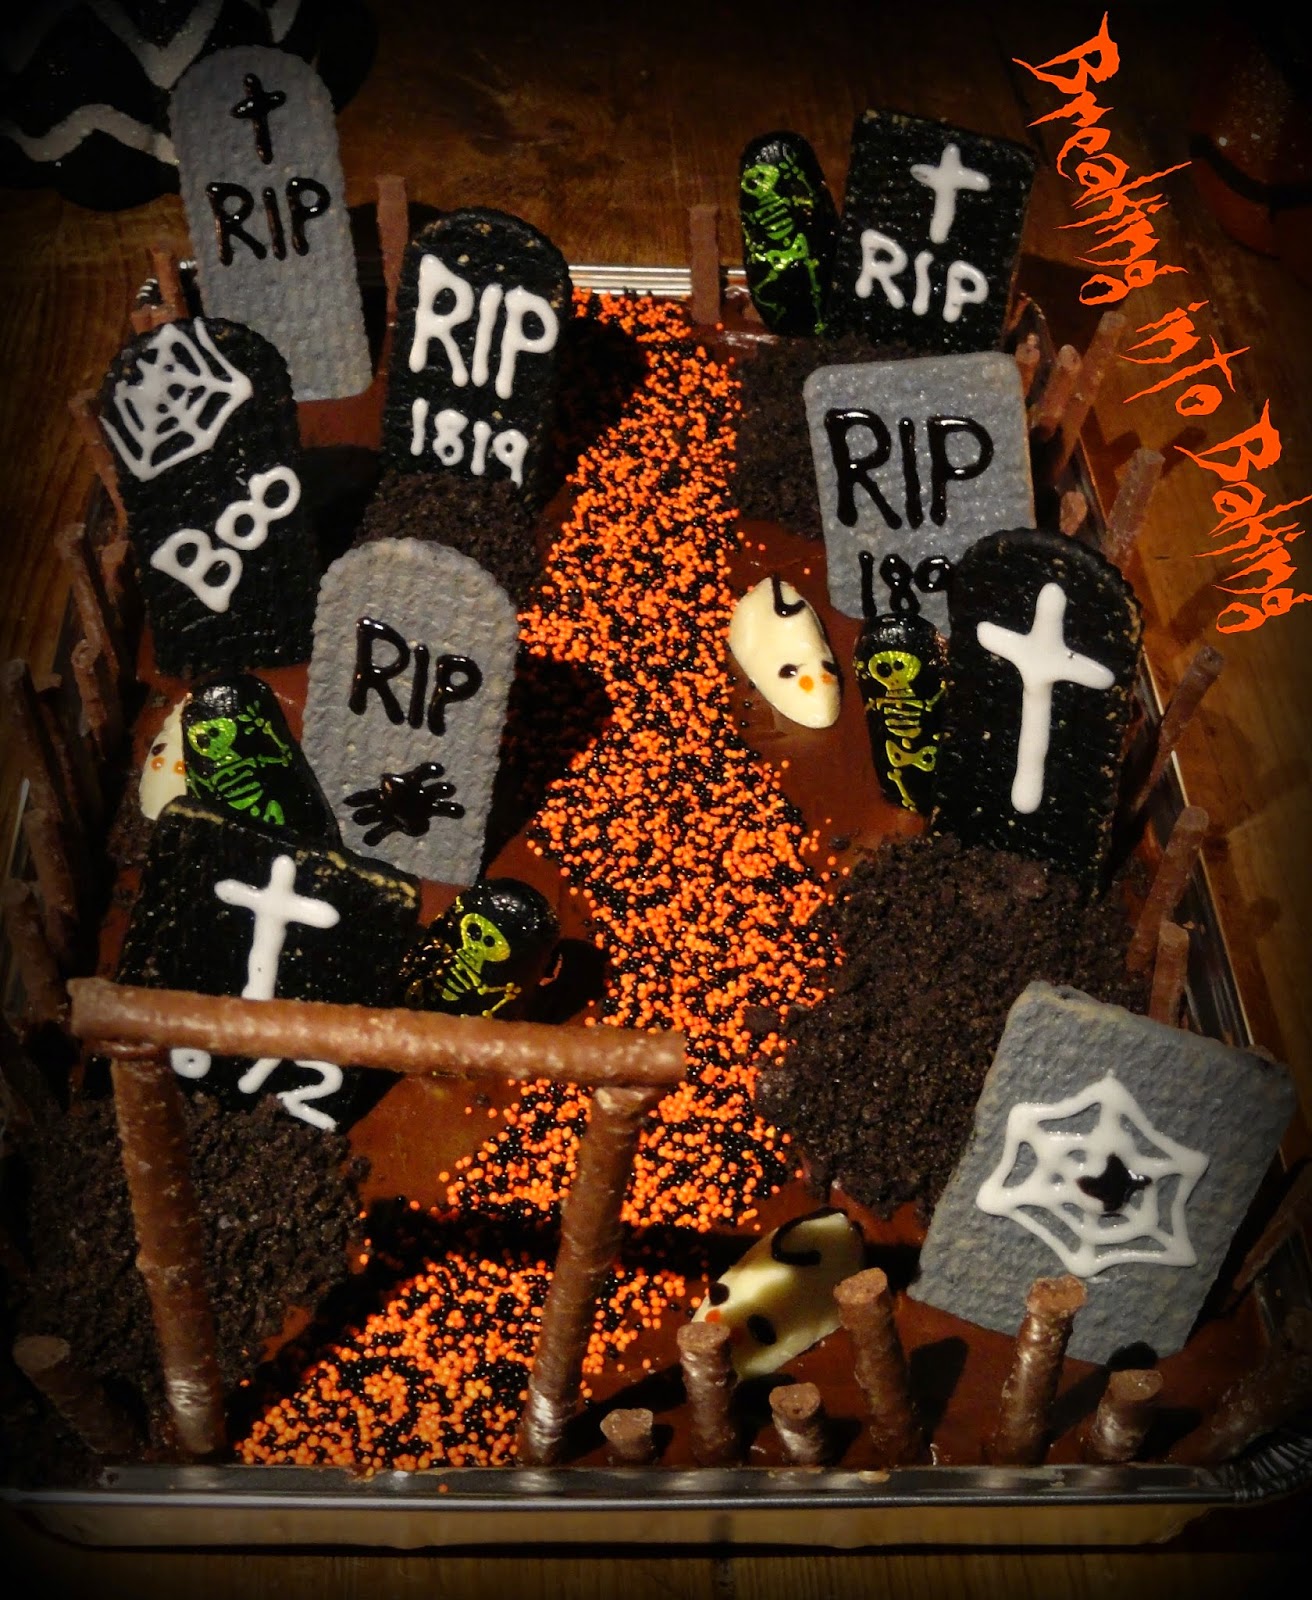
Once again I had so much fun making these!! The recipe for the brownies is my own triple chocolate brownie recipe and I covered them with Betty Crocker chocolate buttercream icing

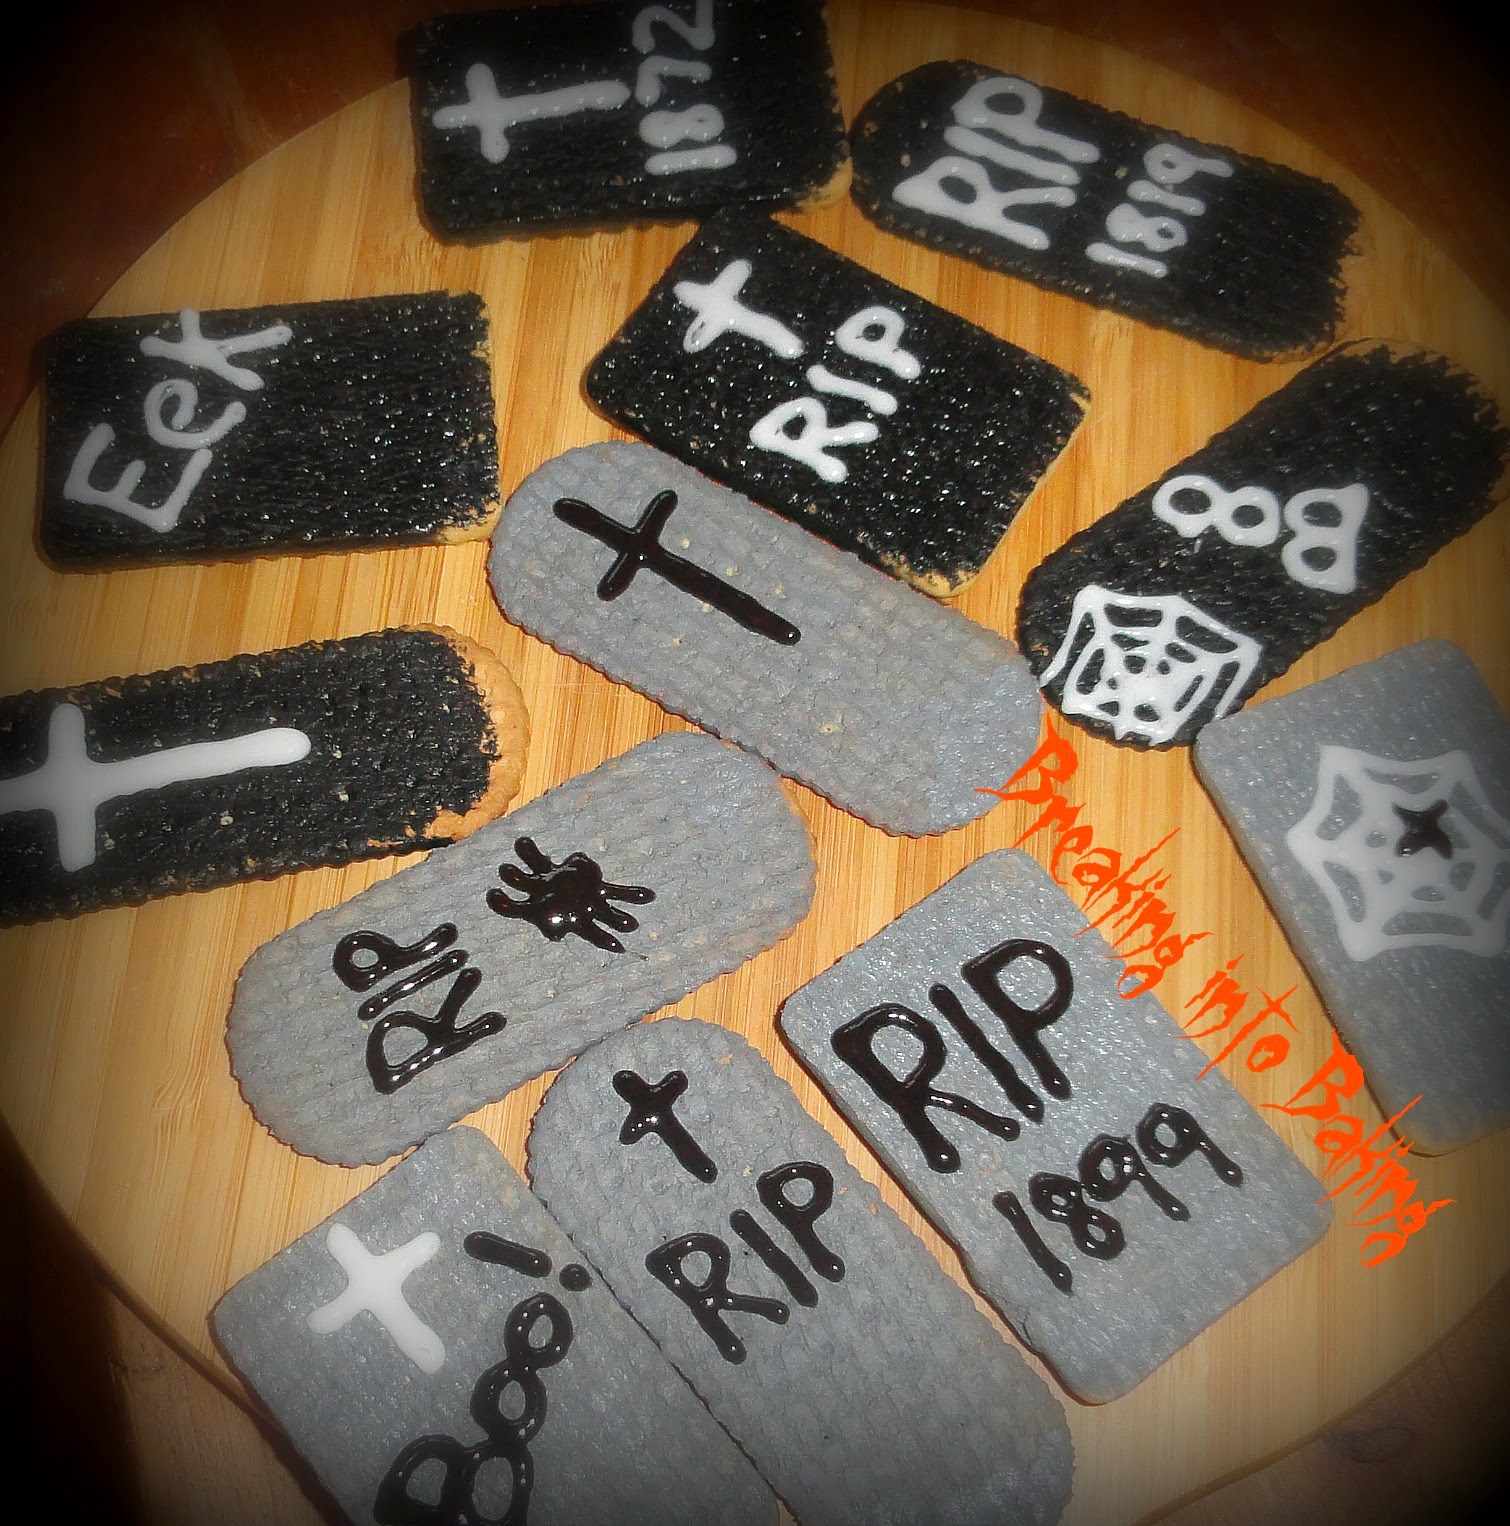
I then used biscuits painted with gel food colouring and decorated with writing icing for the tombstones. I used Asda own brand rich tea fingers and malted milks as I liked the sizes and shapes but feel free to use your own favourites. 


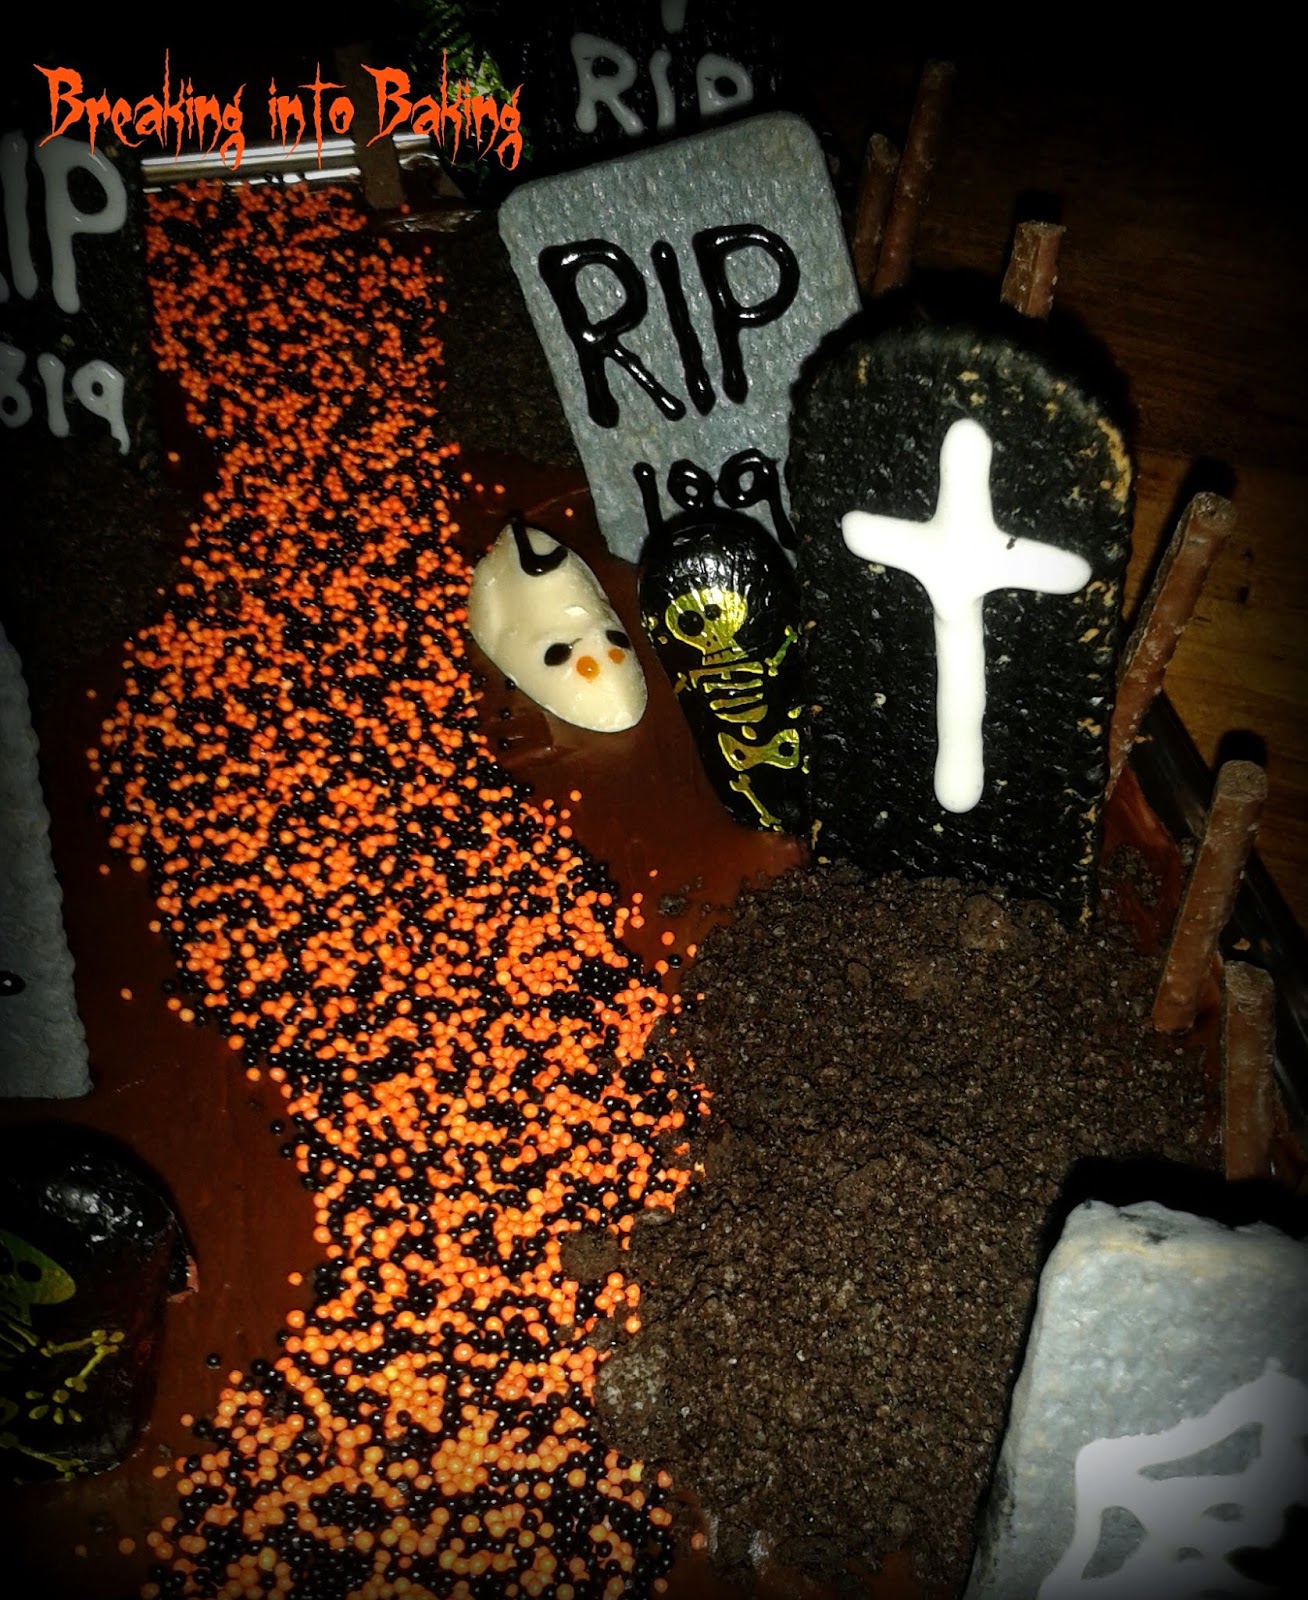
I used Halloween sprinkles from Asda for the path but you can use any Halloween sprinkles. You could also use chocolate buttons or any orange / black sweet. 

The dirt is made from blitzing oreos in a food processor, 


The white mice can be found in any supermarket and I just painted on their red eyes and black ears and tails with writing icing. 

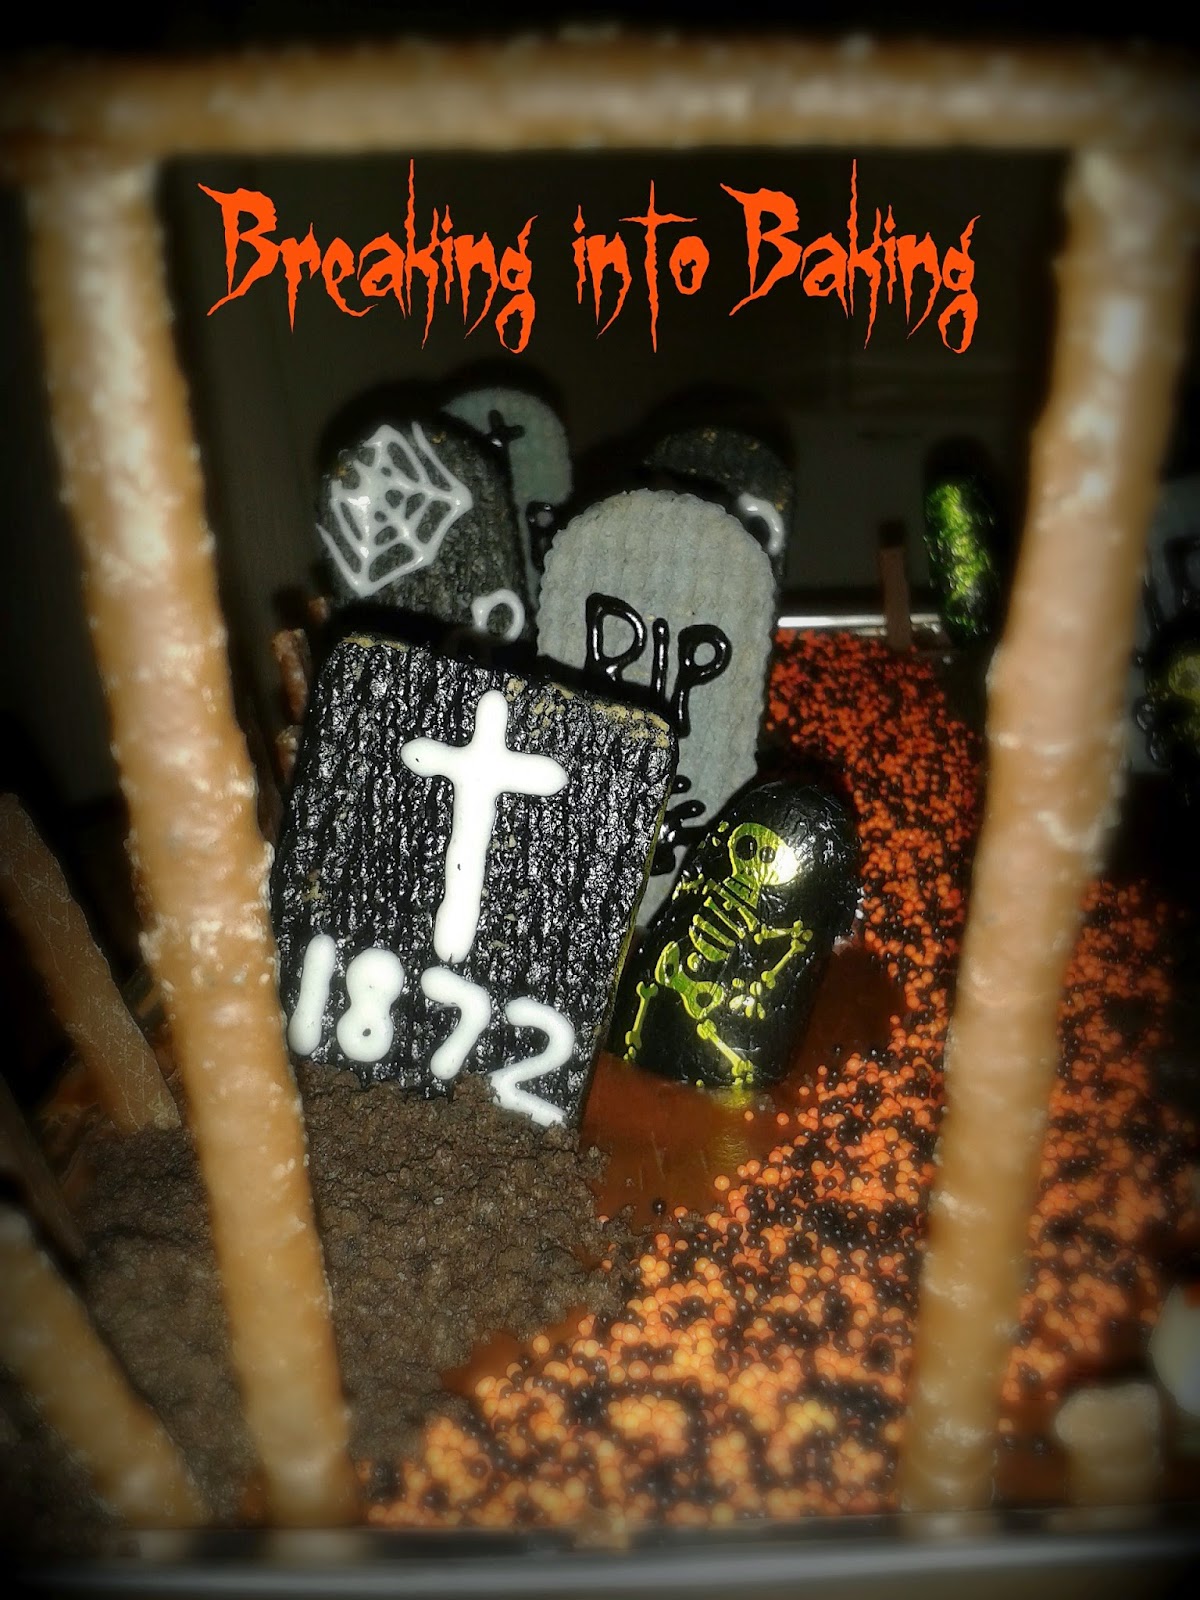
I got the skeleton sweets in M&S and the fence is made from Quality street Match Makers but you can also use chocolate fingers.


I made the brownies in a tin foil tray I got in Lakeland. They are great because you can just leave them in there to decorate and serve. They're also very handy to transport. 

So what will you need?

Foil Tray 
Brownies (recipe here)
Chocolate Buttercream Icing 
 Biscuits for Tombstones
Gel Food Colouring in Grey / Black
Tubes of Writing Icing in Black / White / Red (I used Asda Own)
White Mice (I used Asda Own)
Skeleton Sweets (optional)
Oreos for Dirt (crushed)
Match Makers or Chocolate Fingers for Fence


Whatever you do just have fun with this.. be as creative and adventurous as you like but keep it spooky...!! If you don't have gel food colouring why not just use chocolate covered biscuits? Head down to your local supermarket and you'll see a huge range of Halloween sweets and pick your favorites for your graveyard. 


As always please share your bakes with me if you try them yourself. I hope you all have a spooky and fun Halloween!! 

Happy Baking, 
O x


Monday 27 October 2014

Happy Halloween!!

Part One!

Halloween has always been one of my favorite holidays! I have some of  the best memories from my childhood around Halloween. Deciding what costume to wear, putting it altogether, going trick or treating with my friends and of course having a big bag full of sweets at the end of the day!! But I have to say my fondest memory was decorating the house with my Mum. She went all out at Halloween. We had a porch at the front of the house and she used to make it into a cave. I don't think any description I could give you now would do it any justice but we always got so many compliments on the cave and we had so much fun doing it. I remember we used to pester my Dad for days (probably weeks) before Halloween to go up into the attic to get the costumes and decorations. The day was then spent planning and putting together our costumes, carving the pumpkin and then helping Mum put up all the decorations in the cave. I just won't mention how one Halloween I nearly set the house on fire... sorry again Mum and Dad! I definitely think I get my creativeness from my Mum and she's the best when it comes to holidays! 

Me- Halloween 2012

Things haven't really changed since I've grown up. I still absolutely love Halloween and adore getting dressed up every year. That said I just had to do a Halloween special on Breaking into Baking. For the Shattered Glass Cupcakes you can use my classic vanilla cupcake recipe with the vanilla frosting or feel free to use a box mix for the cupcakes and ready made icing which is what I did here. I used the Betty Crocker vanilla cupcake mix and the Betty Crocker vanilla buttercream icing. For my Graveyard Brownies I used my chocolate brownie recipe and some Betty Crocker chocolate buttercream icing but you can also use a box mix for the brownies. As this blog is called 'Breaking into Baking' I wanted to show you on this post that even if you don't posses the best baking skills that these two recipes are so easy to do that anyone can give them a go. If you have kids they are so much fun to make.. although maybe the cupcakes are not so suitable for children! 

Shattered Glass Cupcakes


You will need:

Vanilla Cupcakes
Vanilla Buttercream frosting
Glacier Mints (such as foxes)
Liquid Glucose (I used 1 Dr. Oetker tube)
1 tsp of Cornflour
2/3 tbs Water
Red Gel Food Colouring
Blue Gel Food Colouring

For the Glass:


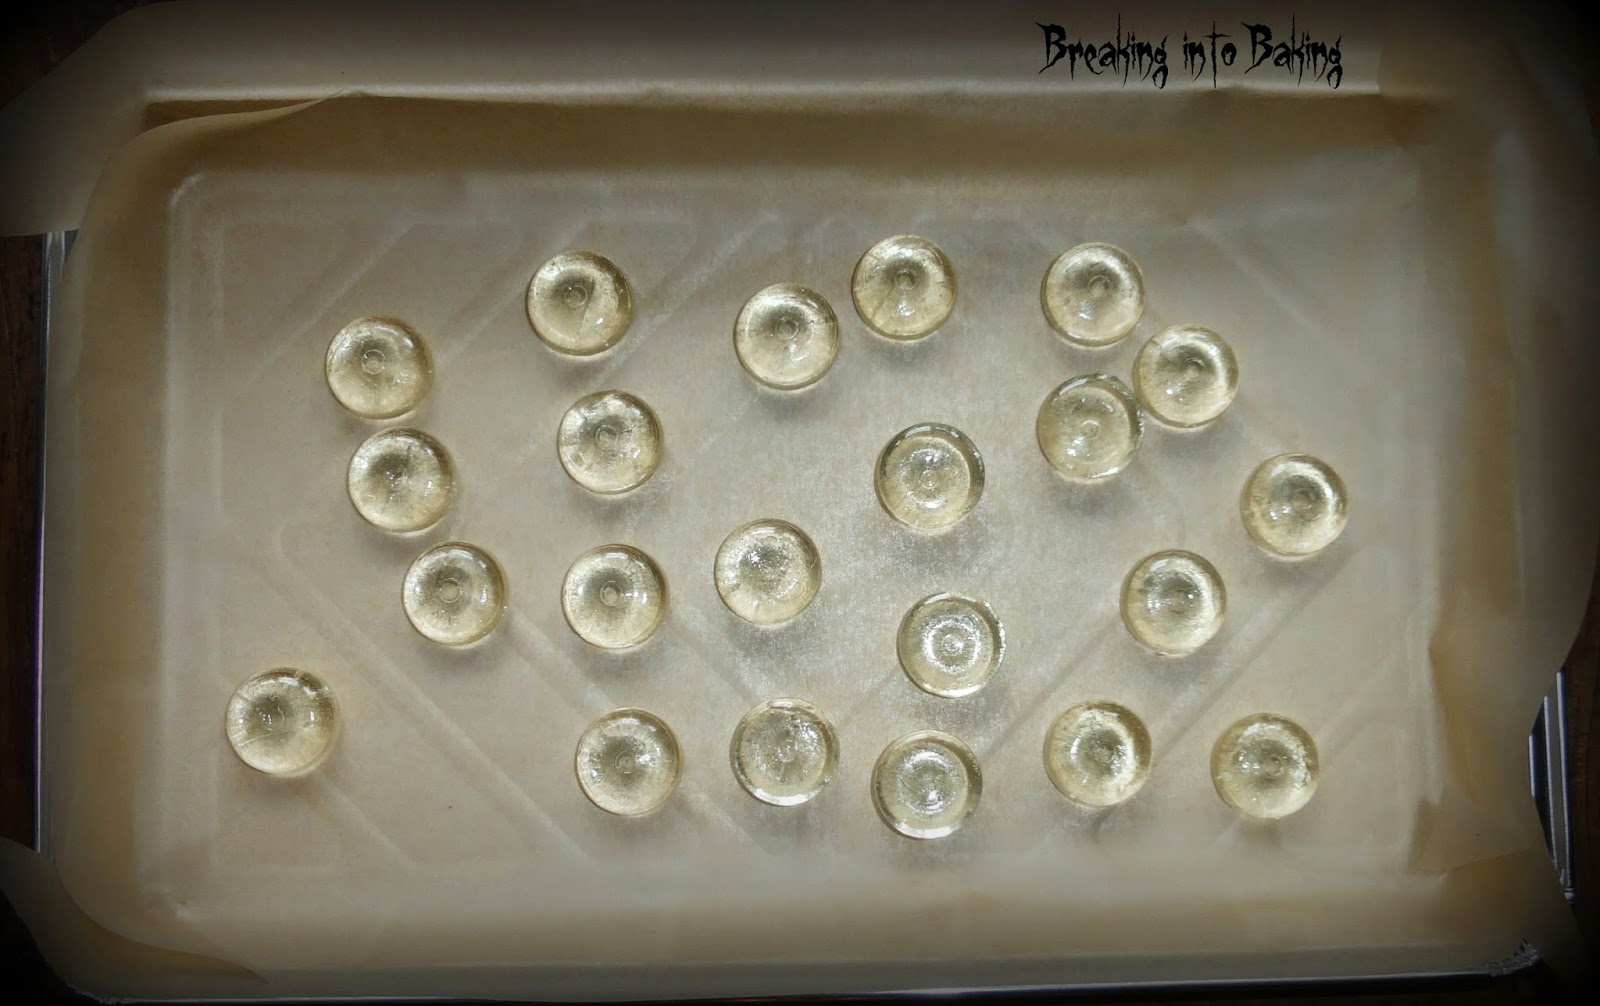
Place your glacier mints on a baking tray covered in parchment paper. Put them in the oven at 180C to melt. They will only take a few minutes. Keep an eye on them. Once they have melted take out and leave to cool. Once cooled (again won't take very long) use a rolling pin or some other big utensil to smash the "glass". Set aside until ready to use.


For the Blood:

Put your glucose and cornflour into a bowl. Mix until well combined. Add a couple of drops of water to make the mixture slacker. Then add your red food colouring. I added about 10/12 drops of red and 2/3 drops of blue but you will know yourself when you get the desired colour. Then add more water until you have reached a thick syrupy consistency similar to blood. 


Once your cupcakes have cooled ice them with your vanilla buttercream (be as messy as you want here). Then start sticking your shards of "glass" in the top and pour on your blood over. 

Viola!


I hope you have as much fun making these cupcakes as I did. Check out part two of my Halloween special tomorrow for some spooky Graveyard Brownies. Here's a sneak peek...


As always you can find me on Facebook, Instagram and Twitter. If you do try these cupcakes please share some pictures with me on any of those sites or you can always leave me a comment below.

Happy Baking and Happy Halloween!!

O x

Monday 13 October 2014

Classic Vanilla Cupcake


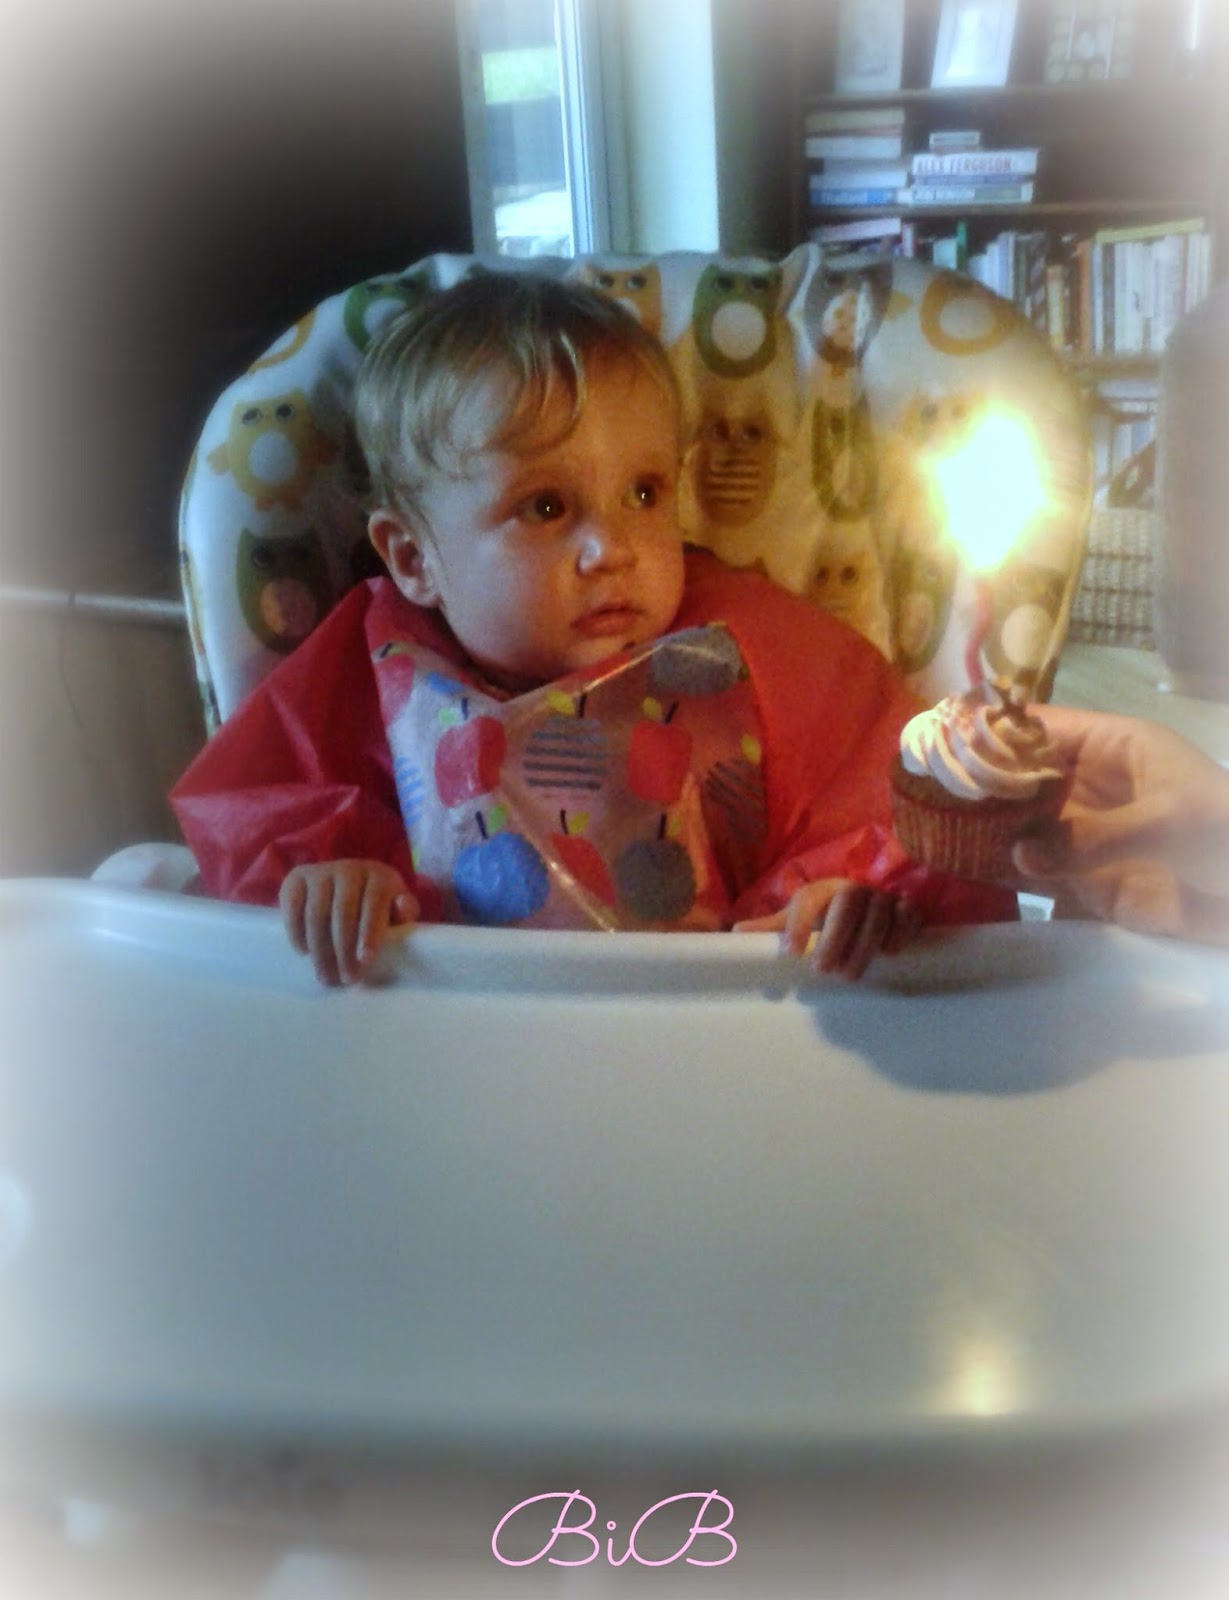
It was my god daughters 1st birthday last month so I decided to make some pink cupcakes to celebrate. You really can’t beat a classic vanilla cupcake and they’re so quick and easy to make. I have been making cupcakes / queen cakes for as long as I can remember. Anyone who grew up in an Irish household will surely have grown up eating queen cakes.. which we now call cupcakes thanks to our American friends bringing them across the pond! One of my youngest memories is baking queen cakes with my Nana. I remember standing up on a chair so I could reach the counter and being her little assistant. I firmly believe I get my love of baking (and skills) from both my grandmothers as they were both two wonderful bakers.

Abigail didn't look too sure but she loved it! 

So back to the humble cupcake. All you need is butter, eggs, flour, sugar and a drop of vanilla extract and if you follow my step by step recipe then you can have perfect vanilla cupcakes too. In this recipe I am using a classic buttercream frosting from ‘The Hummingbird Bakery’ cookbook but feel free to use your own favourite frosting recipe. This recipe makes 12 cupcakes.


Ingredients:
170g Self Raising Flour (sifted)
170g Caster Sugar
170g Unsalted Butter (at room temperature)
3 Medium free range eggs
1 tsp of Vanilla Extract

For the Buttercream:
250g Icing Sugar
80g Butter (at room temperature)
25mls Milk
½ tsp of Vanilla Extract

Prepare:
Preheat your oven to 170C and line a 12-hole cupcake/muffin tin with cupcake cases.

Method:

Begin by beating your sugar and butter together until pale and fluffy. This may take a minute or two. Here is where it is so important that your butter is at room temperature or the butter won’t dissolve the sugar and it will just clump together.

Beat in your eggs one at a time and stir in your vanilla extract. Once your eggs and vanilla are all incorporated fold in your flour gently to keep as much air in your batter. Spoon the mix into your cases filling ¾ of the way full. Pop them into your oven and bake for 20-22 mins. You will know your cupcakes are baked when they are golden brown in colour and bounce back to touch. You can also stick a cocktail stick or skewer in and if it comes out clean they are baked.

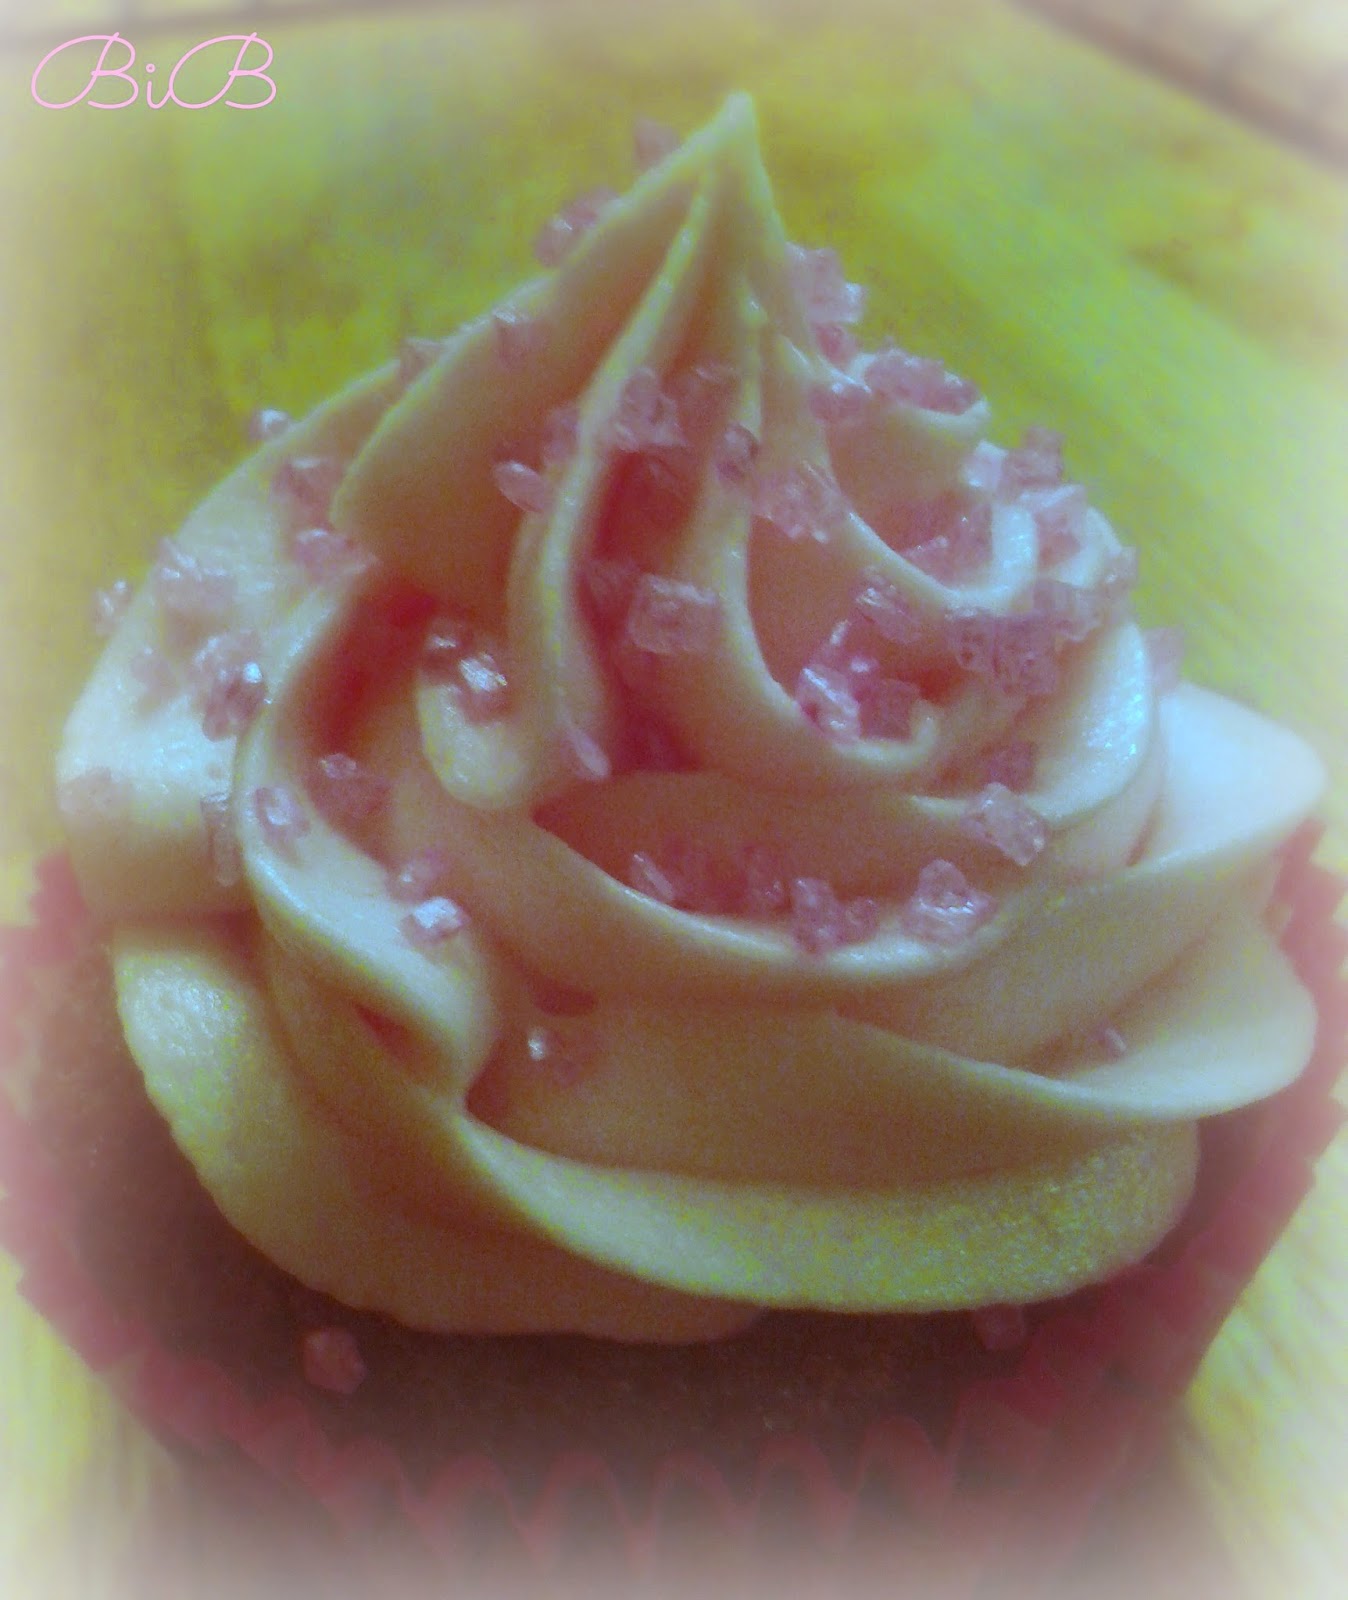
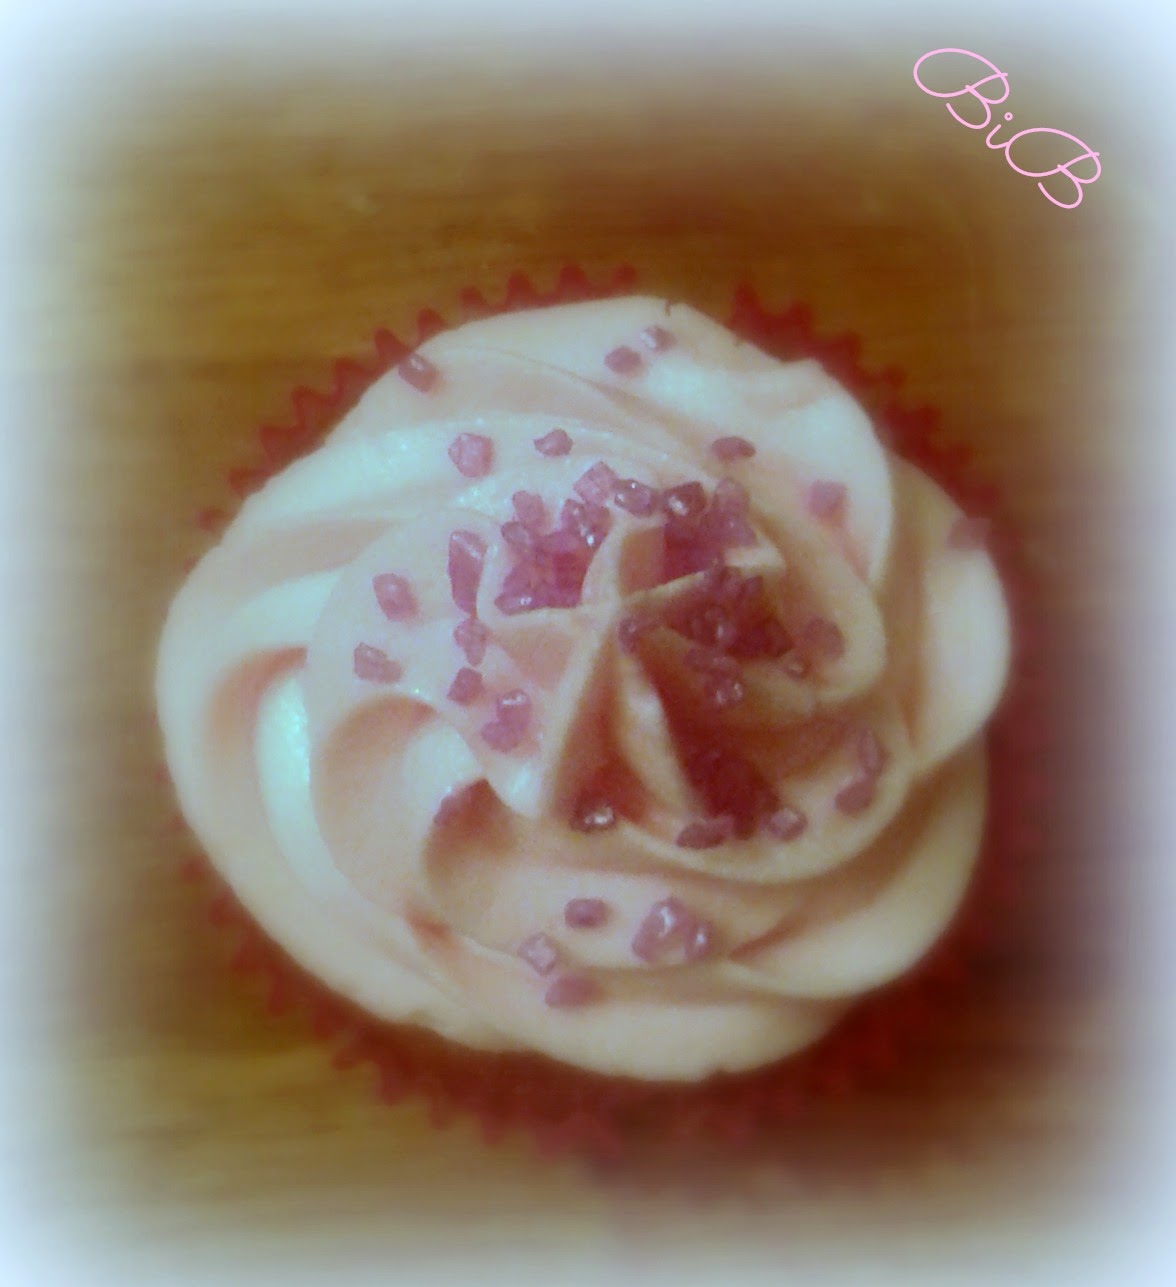
Leave to cool on a wire rack and begin making your buttercream icing. Start by creaming your butter with your mixer (or hand held whisk) then slowly add your icing sugar. I stress doing this slowly or else you will end up with a face full of icing sugar!! Once your icing sugar has been incorporated add your milk a small drop at a time with your vanilla extract until the icing is smooth and creamy. I used pink gel food colouring here to colour the icing but feel free to use whatever colour you wish. I piped the icing using a star tip and I then decorated them with pink and purple sparkling sprinkles.


Delicious!

Let me know if you try these out yourself. As always you can find me on Facebook, Twitter and Instagram or you can leave a comment below.

Happy Baking,

O x