Showing posts with label Gluten Free. Show all posts

Tuesday, 2 September 2014

Gluten Free Banoffee Pie

Gluten Free Banoffee Pie


I have always been a big fan of Banoffee Pie; though technically not a pie as I always make it with a biscuit base and pies are typically made with a pastry base. I don’t know why it’s called Banoffee Pie but let’s not get into that discussion here. Let’s talk about the deliciousness that is Banoffee; It is my all-time favourite desert. If I am in a restaurant and it’s on the menu there is no question about what I’ll be getting after my main course (no matter how full I am- I always make room)!

I met my match in London with my friend Sarah.. Finally someone who shared my passion (maybe slight obsession) for Banoffee! But this shared passion / obsession was short lived when Sarah decided to up sticks and move back to Ireland. The night before she was due to board a plane to our beautiful Emerald Isle we all gathered for her ‘final supper’ in London town. Of course what else would I be providing for desert but Banoffee Pie.

For your typical biscuit base it would be a mix of digestive biscuits and butter. For me this posed a slight issue as one of my friends is coeliac and I definitely didn’t want him to miss out on desert. No fear, I knew my local supermarket had gluten free digestive biscuits in stock. I did a bit of research and learned from reading a few baking forums that some GF digestive biscuits tend to be drier than other digestive biscuits. If your biscuit base is too dry it will just crumble and would be very hard to slice and dish up. I thought to myself I could just add more butter but then I didn’t want the taste of the butter to come through. I decided to add ground almonds to the mix. I had never done this before but it worked out so well I will be adding it to all my Banoffees going forward! 

For this recipe I used a 9” spring form cake tin.

Ingredients

Biscuit Base
300g Gluten Free Digestive Biscuits
100g Ground Almonds
100g Butter

Caramel
1 Can Condensed Milk (397g)
100g Muscovado Brown Sugar
100g Butter

Top
4 Medium Bananas
350mls Double Cream (whipped)
Grated Chocolate (for decoration)

Method
Begin by breaking up your digestive biscuits (either in a food processor) or by hand until you have a sandy consistency. Melt your butter and add to your crushed biscuits with the ground almonds. Once all combined you should have a wet sand consistency. Transfer into the cake tin and press down to ensure the mix is well compacted into the bottom of the cake tin. Place in the fridge for a minimum of 30 minutes and you can move onto your caramel.

Melt your butter and sugar in saucepan over a medium heat while continually stirring. Once the sugar has all dissolved add your condensed milk and bring to the boil- stirring constantly. Boil for about one minute until you have a thick caramel consistency. Spread over the biscuit base and leave to cool (may take over an hour).

Once the caramel has cooled completely slice your bananas and layer over the caramel. Whip your cream until you have soft peaks and layer this over your caramel. I then grated some chocolate and sprinkled over the cream for decoration but this is completely optional.

I hope you enjoy baking this is. It is such a simple recipe that requires no baking only time and patience. If you have any questions please don’t hesitate to contact me. You can do so here or on my facebook or twitter pages!

Happy Baking!

O x 

**I am sorry I don't have any more pictures.. I unfortunately left my camera a home when I went to my friends house to make this! There will be more pictures on my next post I promise!**

Monday, 2 June 2014

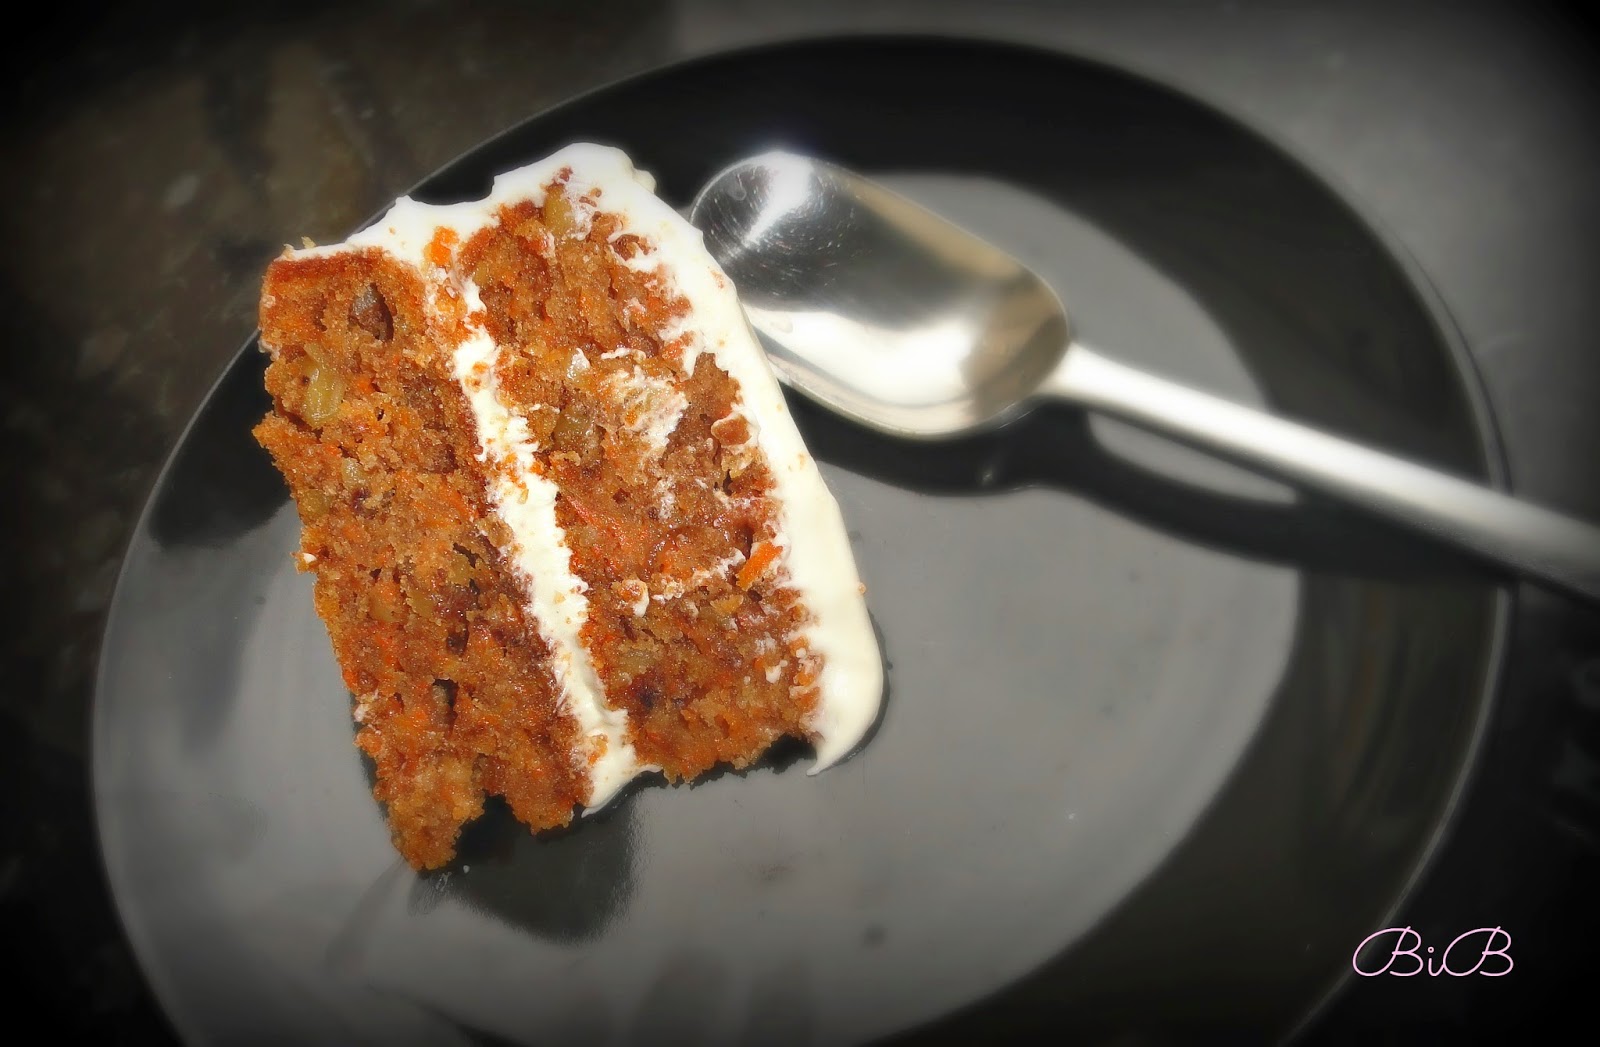
Carrot Cake with Cream Cheese Frosting

Any of you that follow me on Twitter / Instagram will have seen that it was my birthday last month. When I moved to London and started my first job over here I found it very odd that on your birthday you are the one that brings in the cake to work. Very funny tradition I thought but ok! Although I work in a big and busy office I work on my own tucked away from everyone so last year I didn't tell anyone it was my birthday. On the day itself though word got out that it was my birthday and everyone was asking "Where's the cake??". I had only just started working in this job at the time so I just shrugged it off "What cake? Oh I was meant to bring in cake? I didn't know, I'm new to this country..!!" This year I obviously couldn't use that excuse having been in the UK for nearly 2 years now. I also have gotten to know everyone I work with better and vise versa so they all knew I loved to bake.. I had to bring in something I baked myself. I decided to do a chocolate cake and carrot cake. They went down a treat and when I mentioned the cakes I baked for my birthday on Facebook I was asked could I put up my carrot cake recipe up here so here it is.


I was going for dinner in a friends house on Saturday night so I thought it would be the perfect excuse to bake a cake. I try not to bake too much when I have nobody to give it to or somewhere to bring it as the temptation at home is just too much!! It went down very well and everyone loved it. There were two friends of mine who are coeliac at dinner so I made my cake gluten free but as I previously mentioned in my lemon slices post you can use either gluten free or regular self raising flour in this recipe. I used a cream cheese frosting with this recipe (my all time favourite frosting).


Ingredients

Cake
190g Self Raising Flour / Gluten Free Self Raising Flour
300g Caster Sugar
1.5 tsp Cinnamon
250mls Vegetable Oil
3 Eggs
250g Carrots (grated)
100g Chopped Walnuts

Cream Cheese Frosting
75g Unsalted Butter (at room temperature)
450g Icing Sugar (sifted)
180g Cream Cheese (Philadelphia- Full fat- From fridge)
1 tsp vanilla extract

Prepare

Pre-heat your oven to 180C or 170C Fan assisted oven. Grease and line two 8" round sandwich cake tins.

Method

In a large mixing bowl mix your flour (sifted), sugar and cinnamon. Add your oil and eggs to your dry ingredients. Stir until well combined. I just used a hand held whisk. These ingredients mix very easily. Once well incorporated stir in your carrots and walnuts. Divide your mixture between the two prepared baking tins and place in your preheated oven for 30-35 minutes or until a skewer placed into the middle comes out clean. You should also be able to press down the top of the cake and have it bounce back. Leave to cool in their tins on a wire rack and prepare your icing.


For your icing mix your butter and icing sugar with a hand held electric whisk or in a free standing mixer with paddle attachment on a low speed to begin with (unless you want a face full of dust) and slowly increase to medium speed. Once well combined add your philadelphia and vanilla extract in one and turn up speed to medium-high and leave to mix for about 5 minutes. Frosting will be light and fluffy. Be careful not to over mix as it can become runny quite quickly. Fill and ice your cake covering the top and sides if required. As you can see in the first picture above I decorated the carrot cake on my birthday with walnuts but for this one I left it plain. Decoration is optional!


As you can see there was nothing left on the plates.. this cake is an all round winner. Let me know if you try it out and if you have any questions please don't hesitate to ask me. You can find me on twitterfacebook and instagram and I love to hear from you when you try out my recipes so feel free to contact me via any of those links or comment below. Requests for recipes are always welcome- I love a challenge!

Happy Baking,
O x


Monday, 12 May 2014

Lala's Lemon Slices

Lala's Lemon Slices (Gluten Free)

As I have mentioned previously in my blog my Grandmothers were both wonderful bakers. One thing I always remember about visiting my 'Lala' in Dublin was the constant supply of lemon slices in the press. They didn't last long when we were around but she would whip up a batch as quickly as we had them eaten! I recently asked my Aunt to send me on the recipe and I tried to recreate them myself. They are so light and fluffy with the bite of the lemon complimented by the sweetness of the caster sugar. They could not be any easier to make and are a perfect treat to have in the house for spring and summer.


I have been wanting to bake with Gluten Free Flour for some time now and thought these lemon slices would be perfect to try it out with. I recently moved house and one of my new housemates in Celiac so I made a promise to her to try out the gluten free flour she had in her press. There were no complaints from any of my housemates about these lemon slices.. they were consumed for breakfast, lunch and dinner so they must of been good! You can of course use regular self raising flour if you wish. 

Ingredients:

Sponge
170g Gluten Free Self Raising Flour / Self Raising Flour
170g Butter
170g Light Brown Sugar
2 Eggs

Glaze
100g Caster Sugar
Juice of 1 Lemon

Preheat the oven to 170C and line a baking tray with grease proof paper. I used a 30x22 cm baking tray that I use to bake my brownies in.

Method:

Melt the butter in a heat proof bowl over a ban marie (water bath). When melted remove from the heat and leave to cool slightly. Stir in your sugar and then your sifted flour. If you cannot get gluten free self raising flour use plain gluten free flour with 3/4 tsp of gluten free baking powder. Then beat in your eggs and mix. When it is all incorporated put the mixture into your tin and bake for 25-30 mins. The top of the sponge should spring back to touch and be golden brown in colour. While your sponge is baking you can make the glaze. Simply combine the juice of one lemon to 110g of Caster Sugar to make a thin paste. When you remove your sponge from the oven spread this paste over it immediately. The lemon juice will sink down into the cake leaving the sugar to develop a light crust on top. Cut to your intended size. 


I hope you try out these Gluten Free Lemon Slices and please let me know how they turn out. If you have any questions you can find me on FacebookTwitter and Instagram. This is the lovely lady who owns this recipe. This is on her 90th Birthday in 2012. Such a wonderful woman.


Happy Baking!
O x